
Skip to content

Updating visuals

If you see any images containing outdated UI, please bear with us.

We are updating all content as quickly as possible to mirror our new UI.

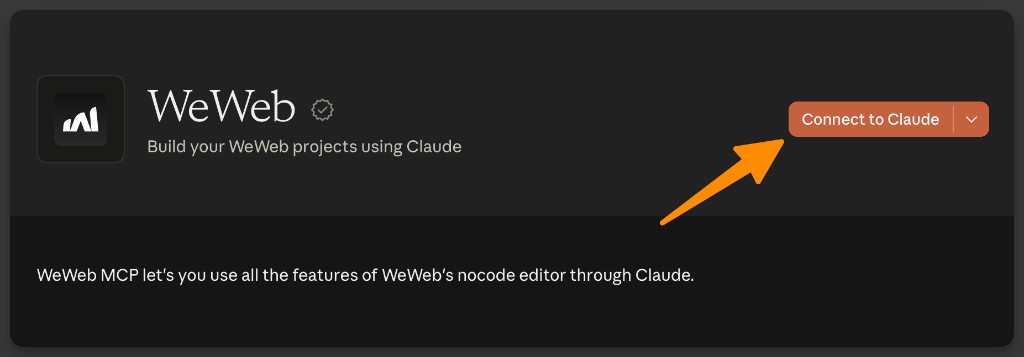
Connect Claude Desktop to the WeWeb MCP Server

Follow along in the guide above, or use these steps:

  1. In Claude, click + under the chat, then go to ConnectorsAdd connectorAdd custom connector.
  2. Name your new connector, set its server URL to the WeWeb MCP URL, then click Add:
https://ai-api.weweb.io/v1/mcp
  1. Sign in to your WeWeb account when the browser opens.

Manual setup

If you prefer to wire up the server by hand, open Claude Desktop's configuration file and register WeWeb there:

Follow along in the guide above, or use these steps:

  1. Copy the JSON block below.
  2. Click your user profile in the bottom left.
  3. Click Settings.
  4. Click Developer.
  5. Click Edit Config.
  6. Open the .json file in your code editor of choice.
  7. Inside the mcpServers object, paste the weweb-ai JSON you copied from above.
  8. Confirm your file matches the layout shown in the guide.
  9. Save the file (⌘ + S on Mac, Ctrl + S on Windows).
  • MacOS: ~/Library/Application Support/Claude/claude_desktop_config.json
  • Windows: %APPDATA%\Claude\claude_desktop_config.json
json
{
  "mcpServers": {
    "weweb-ai": {
      "command": "npx",
      "args": ["-y", "mcp-remote", "https://ai-api.weweb.io/v1/mcp"]
    }
  }
}

INFO

Already running other MCP servers? Place the "weweb-ai" block alongside them, inside the single mcpServers object. Keeping one mcpServers key is what keeps the file valid JSON.

Restart Claude Desktop, and on restart you will be prompted to authenticate with WeWeb.