

Appearance
Stripe Checkout
Stripe Checkout is a hosted page where customers enter their payment details. You create a Checkout Session from your backend and redirect the user to it; Stripe handles the rest and sends them back to your site.
How it works
- Your backend creates a Checkout Session (with line items, success and cancel pages, and mode).
- Your app gets the session
urlfrom the response and redirects the customer there (e.g. “Pay” button). - Stripe shows the payment page, collects the payment, and redirects to your Success Page or Cancel Page.
- Optional — a webhook runs when the session is completed so you can update your database or send a receipt.
Step 1: Create products and prices in Stripe
Before you can add line items to Checkout, Stripe needs at least one Price (and usually a Product). You can:
- Create them in the Stripe Dashboard, or
- Use the Create Product and Create Price actions from a WeWeb workflow or API.
For a subscription, create a recurring price (e.g. monthly). Note the Price ID (e.g. price_123...).
Step 2: Create an API that creates a Checkout Session
START FROM A TEMPLATE
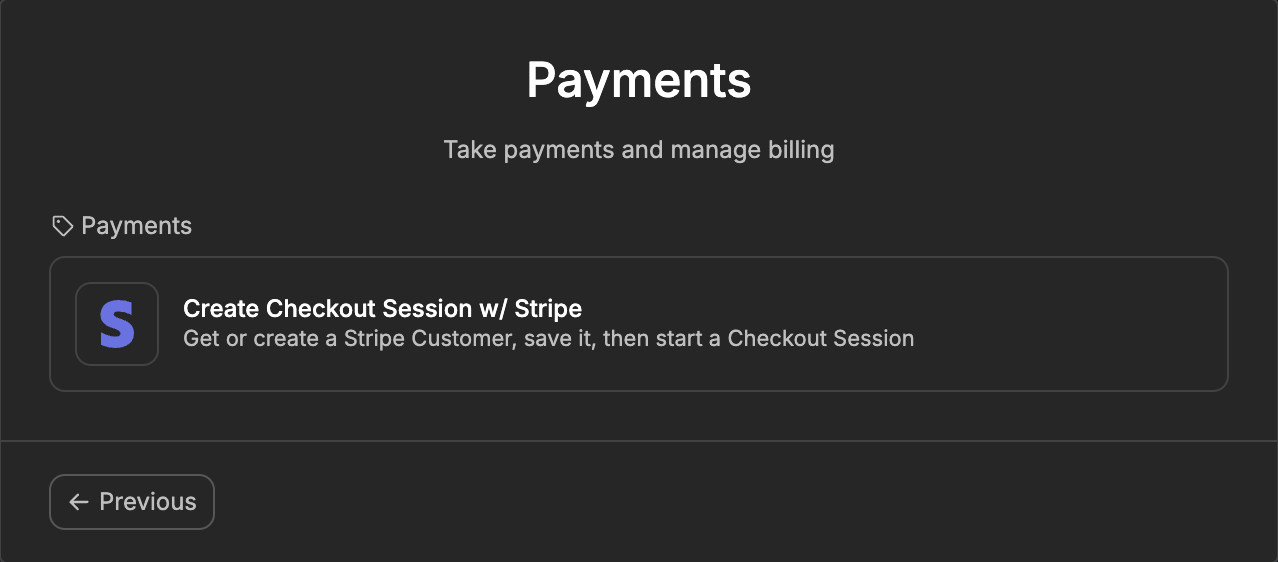
You can build this endpoint by hand with the steps below, or start from a template: when you create the API endpoint, choose Payments and then Create Checkout Session w/ Stripe instead of Custom Endpoint. The template takes a user_id, a price_id and a quantity, looks up the user in your table, creates a Stripe customer if they do not have one yet and saves its ID, then creates the Checkout Session and returns its URL. It ships with notes on the canvas that list the three steps you still need to set: the table to look the user up in, the column that stores the Stripe customer ID, and the Success Page, Cancel Page and Mode of the session.
- In WeWeb, open the Data & API tab, then open the Backend Workflows subtab. Go to API Endpoints and create a new API endpoint (e.g.
POST /create-checkout). - In the workflow for that API, add an action and open
Stripe, thenCheckout, then Create Checkout Session. - Configure:
- Mode —
payment(one-time) orsubscription(recurring). - Line Items — e.g.
[{ "price": "price_123...", "quantity": 1 }](use your Stripe Price IDs). - Success Page — a page in your project, or a URL like
https://yoursite.com/success?session_id={CHECKOUT_SESSION_ID}. Stripe replaces{CHECKOUT_SESSION_ID}with the real ID. - Cancel Page — e.g.
https://yoursite.com/cancel. - Customer ID or Customer Email (optional).
- Metadata (optional) — e.g. order ID for your records.
- Mode —
- Return the session’s
url(and optionallyid) in the API response.
For subscriptions, you can add Subscription Data (e.g. { "trial_period_days": 14 }).
Step 3: Redirect the customer from your interface
On the page where the user clicks “Pay” (or “Subscribe”):
- Call the API you created (e.g.
POST /create-checkout) with the right body (e.g. price ID, quantity). - From the response, take the session
url. - Redirect: e.g.
window.location.href = response.url.
The customer will land on Stripe’s page, pay, and then be sent to your Success Page or Cancel Page.
Step 4: (Optional) Use the success page or a webhook
- Success page — you can call Retrieve Checkout Session with the
session_idfrom the URL to show order details or confirmation. - Webhook — create a backend workflow with trigger On checkout session event. When
context.event.actioniscompleted, update your orders table, send a receipt, or grant access. See Webhooks.
Main inputs at a glance
| Input | Example | Description |
|---|---|---|
| Mode | payment | payment (one-time), subscription, or setup |
| Line Items | [{"price":"price_123","quantity":1}] | Required for payment/subscription. Use Stripe Price IDs. |
| Success Page | https://yoursite.com/success?session_id={CHECKOUT_SESSION_ID} | Where to send the customer after success. Accepts a URL or a page in your project. |
| Cancel Page | https://yoursite.com/cancel | Optional. Where to send the customer if they cancel. |
| Customer ID | cus_xxx | Optional. Existing Stripe customer ID. |
| Customer Email | user@example.com | Optional. Used when no Customer ID is provided. |
| Metadata | {"order_id":"123"} | Optional. Available in webhooks. |
Full parameter list: Actions reference → Create Checkout Session.
Good to know
mode decides the line-item rules
mode changes what Stripe expects: subscription requires recurring prices, payment requires one-time prices, and setup takes no line items but requires a currency. mode is bindable, so a shop that mixes one-off and recurring purchases can compute it from the cart instead of building a separate action per mode.
{CHECKOUT_SESSION_ID} and page fields
The success, cancel, and return page fields accept a plain URL string or a page object ({ "type": "internal", "pageId": "…" } or { "type": "external", "url": "…" }), each with an optional query array. Add session_id = {CHECKOUT_SESSION_ID} in the query (or write it into the URL) and Stripe swaps in the real session id on redirect, so your success page can call Retrieve Checkout Session. This works on the success, cancel, and return redirects.
Hosted vs embedded (ui_mode)
The UI Mode field accepts hosted_page (the default), embedded_page, elements, or form. In hosted_page mode a Success Page is required. In embedded_page mode Stripe rejects Success Page and Cancel Page: use a Return Page with Redirect on Completion instead. WeWeb does not enforce this, Stripe does at runtime, so match the fields to the mode. The older hosted, embedded and embedded_components values are no longer accepted.
A session cannot be reused
A checkout session cannot be re-opened. Expire Checkout Session only works on open sessions, and Update Checkout Session only works before completion. No idempotency key is exposed, so a retried workflow step can create a duplicate session or customer, guard retries at the workflow level.
Wait for payment_status in the webhook
When you fulfil on the On checkout session event webhook, check that context.event.payment_status is paid before granting access. With asynchronous payment methods the session can reach completed before the money settles, and the real outcome arrives later as async_payment_succeeded or async_payment_failed. See Webhooks.