Appearance
Mapbox
Display map
To display a Mapbox map on a WeWeb page, you'll need to:
- Add the plugin to your project
- Drag-and-drop the Mapbox element on a page
- Copy/paste a Mapbox API token in the settings of the Mapbox element you dropped on your page
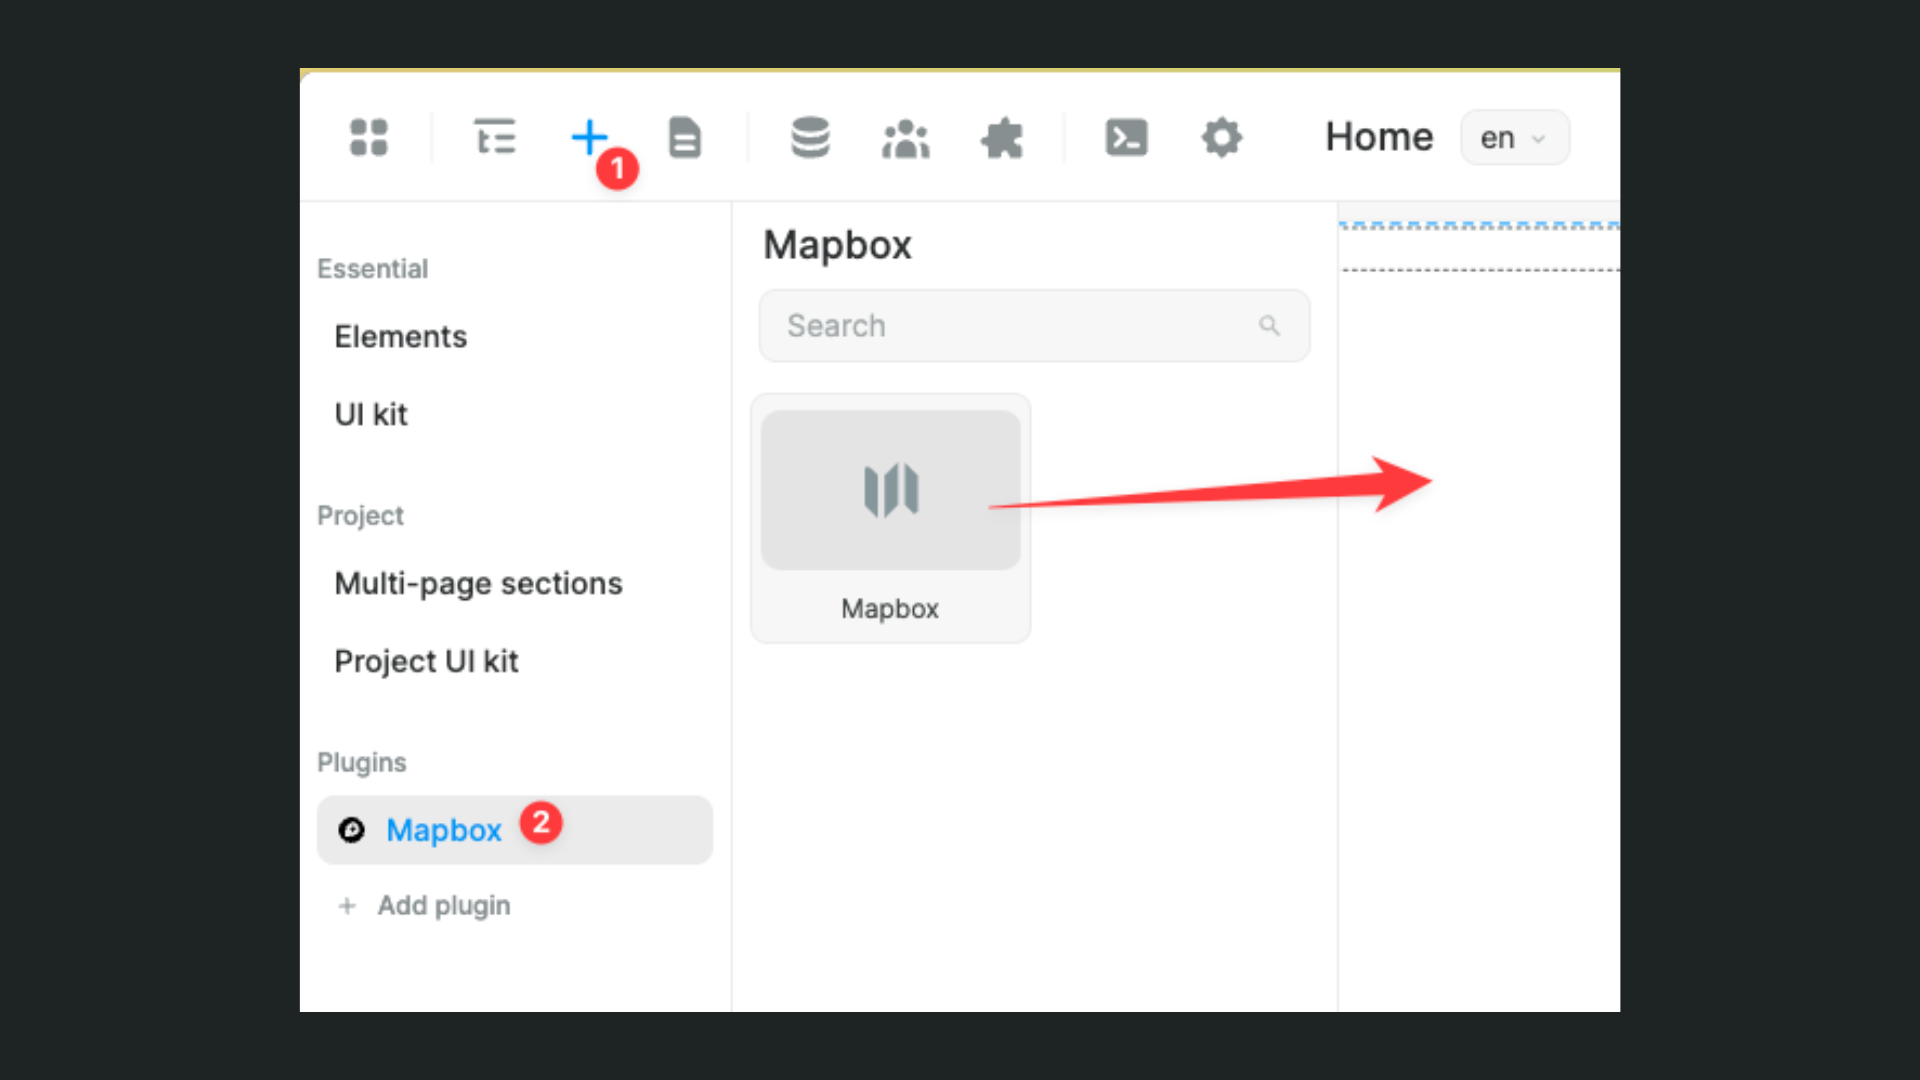
1. Add the plugin
From the Plugins > Extensions menu:

2. Drag-and-drop the Mapbox element
From the Mapbox plugin configuration panel, click Add Mapbox components and drag the element onto the page:
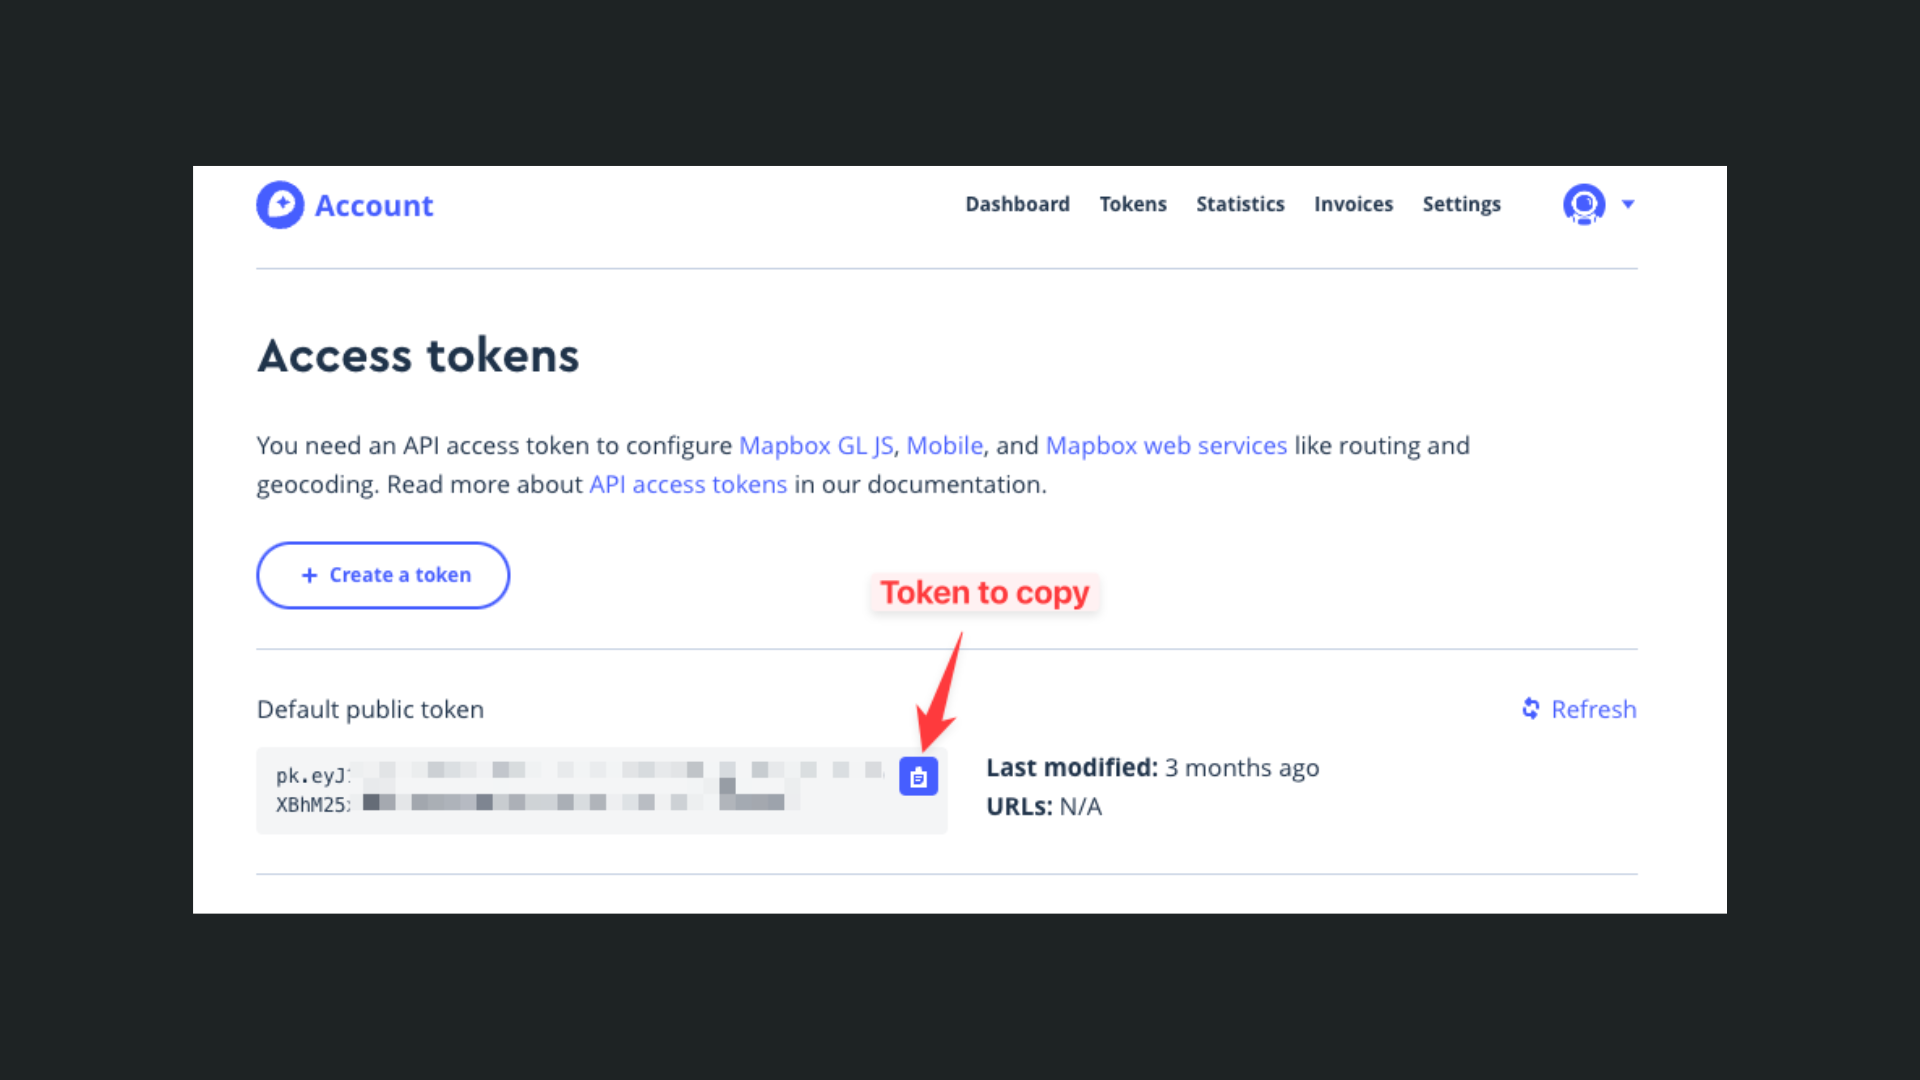
3. Copy/paste a Mapbox API token
Click on the map you just dropped, go to its Settings tab, and paste your Mapbox API token:
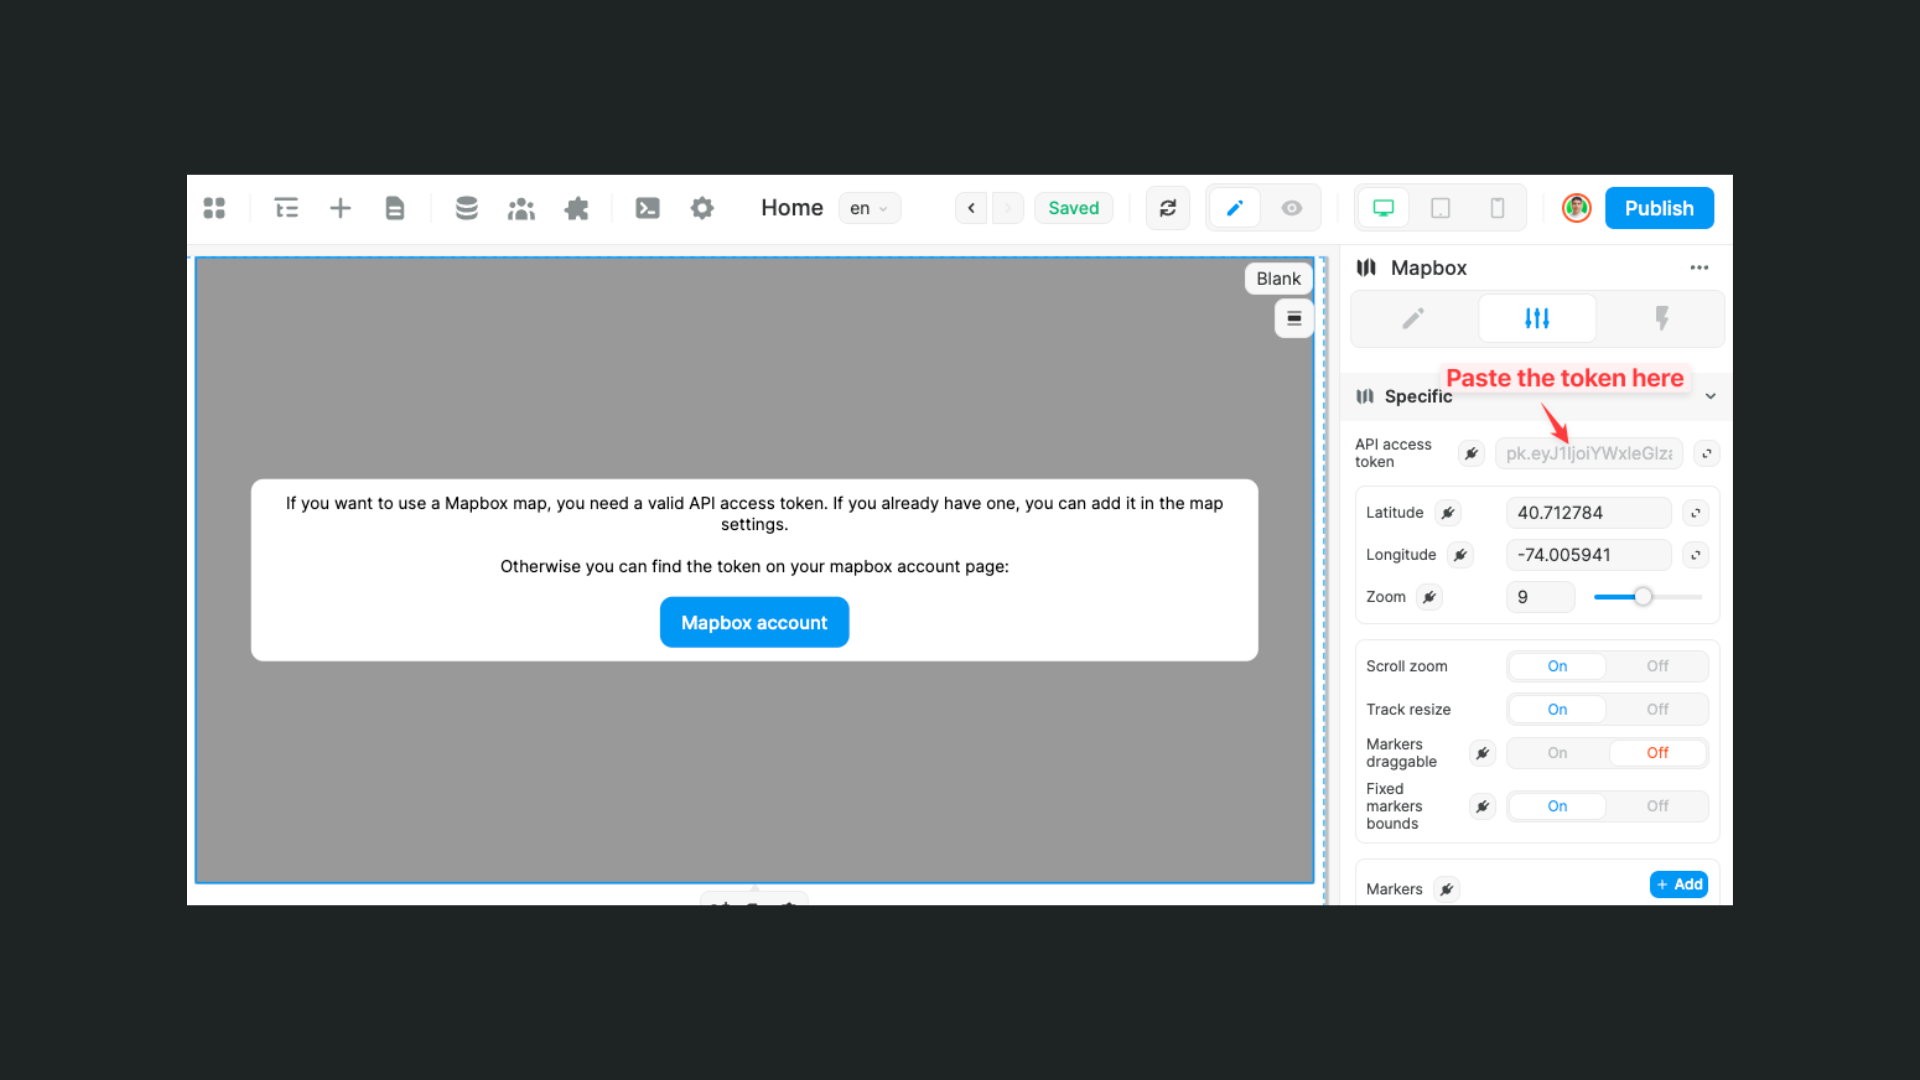
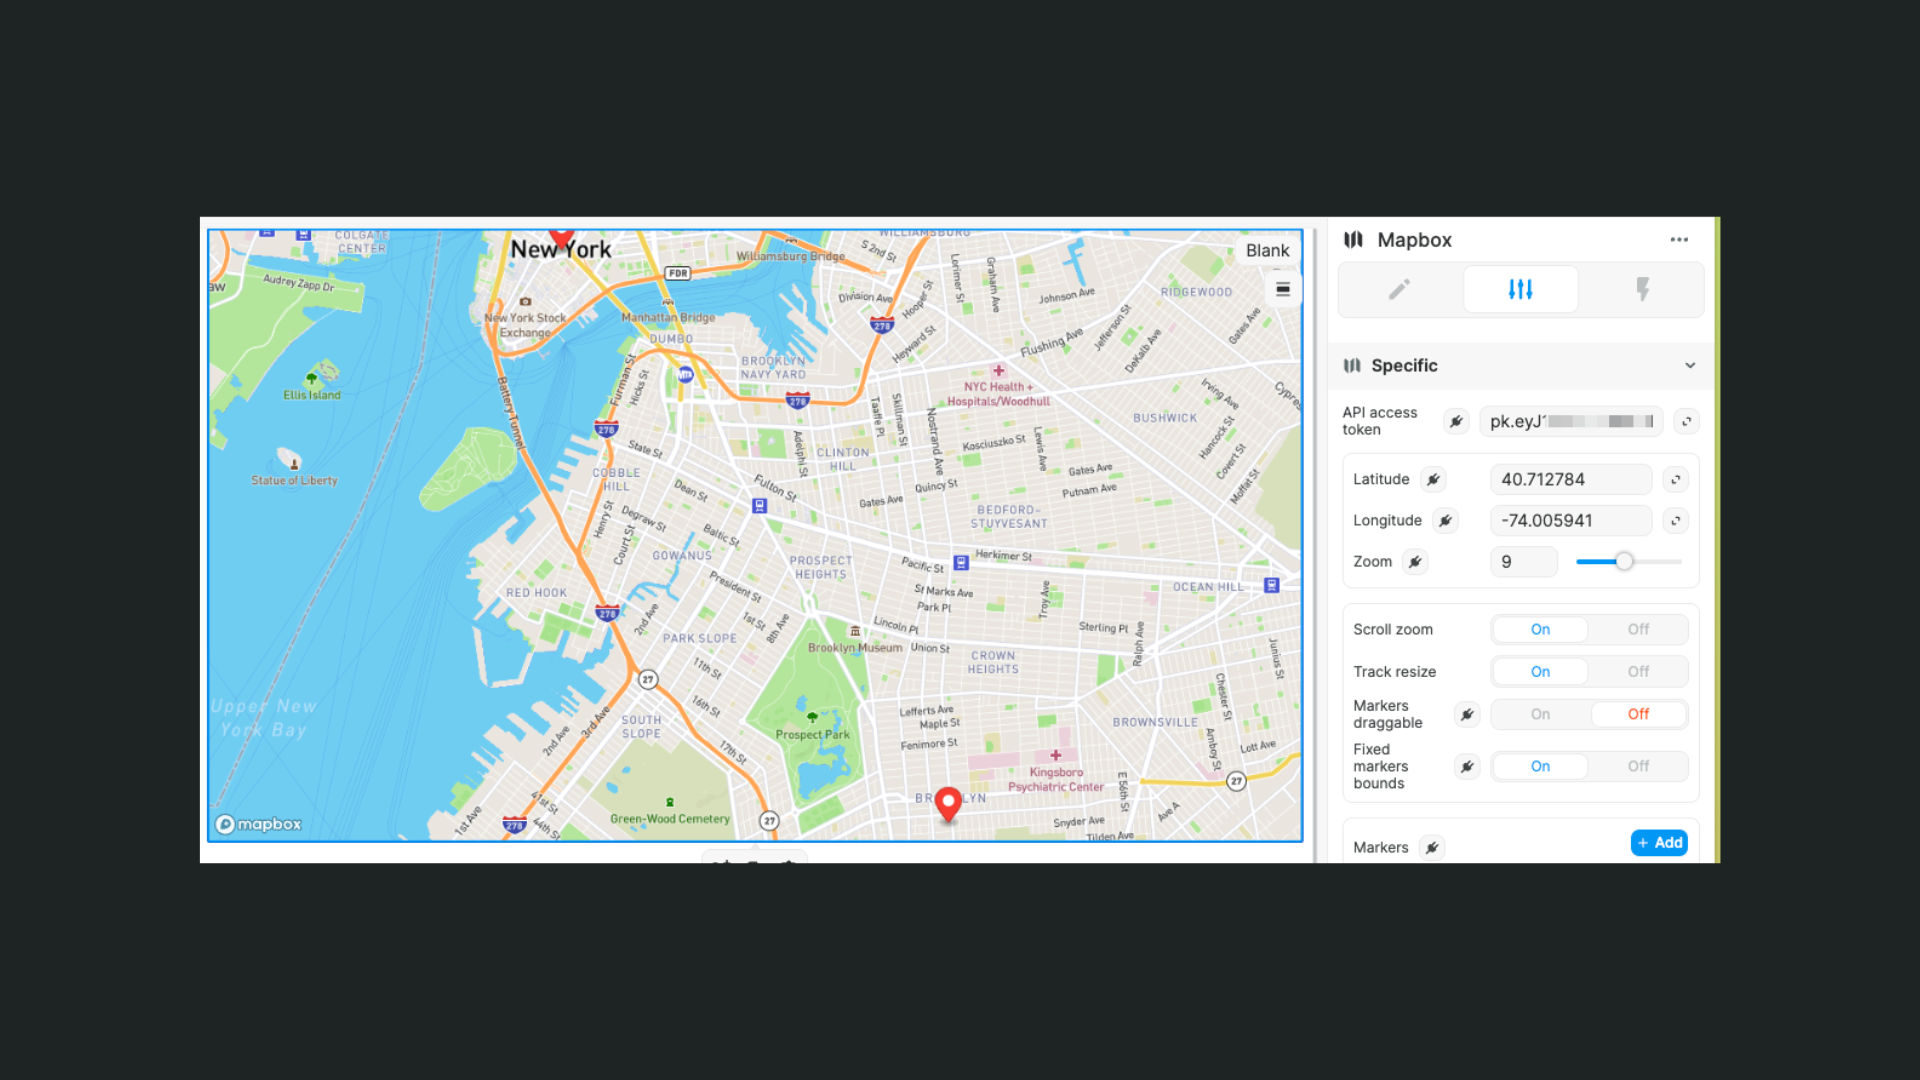
And voilà! A default map should appear if the token is valid.
Style options
This plugin is tailored for advanced users
Most of the options you can find in this plugin can be bound. But they require a specific data type that is specific to Mapbox' API.
We strongly recommend following their tutorial on how to design a map using their studio: https://docs.mapbox.com/help/tutorials/create-a-map-with-data-visualization-component/
Map style – This option lets you change the "look and feel" of the map. You can select Mapbox predefined styles here or create your own and bind it.
Map projection – The type of projection you want to use for your map.
Logo position – Where to place the Mapbox logo on your map.
Default markers color – The color used to mark positions on the map (default is red).
Disable popups – Choose On to disable the native Mapbox popup. Useful if you want full design freedom to display your own custom popups on marker click or mouse enter for example.
Popup hide close button – Enable to hide the close button of the native Mapbox popup.
Popup stays open on click – Enable to force users to click on the close button to close the popup.
Popup close on move – The native Mapbox marker popup will close itself when the user's mouse moves away from a marker.
Popup max width – Allows you to customize the max-width of the native Mapbox popup
TIP
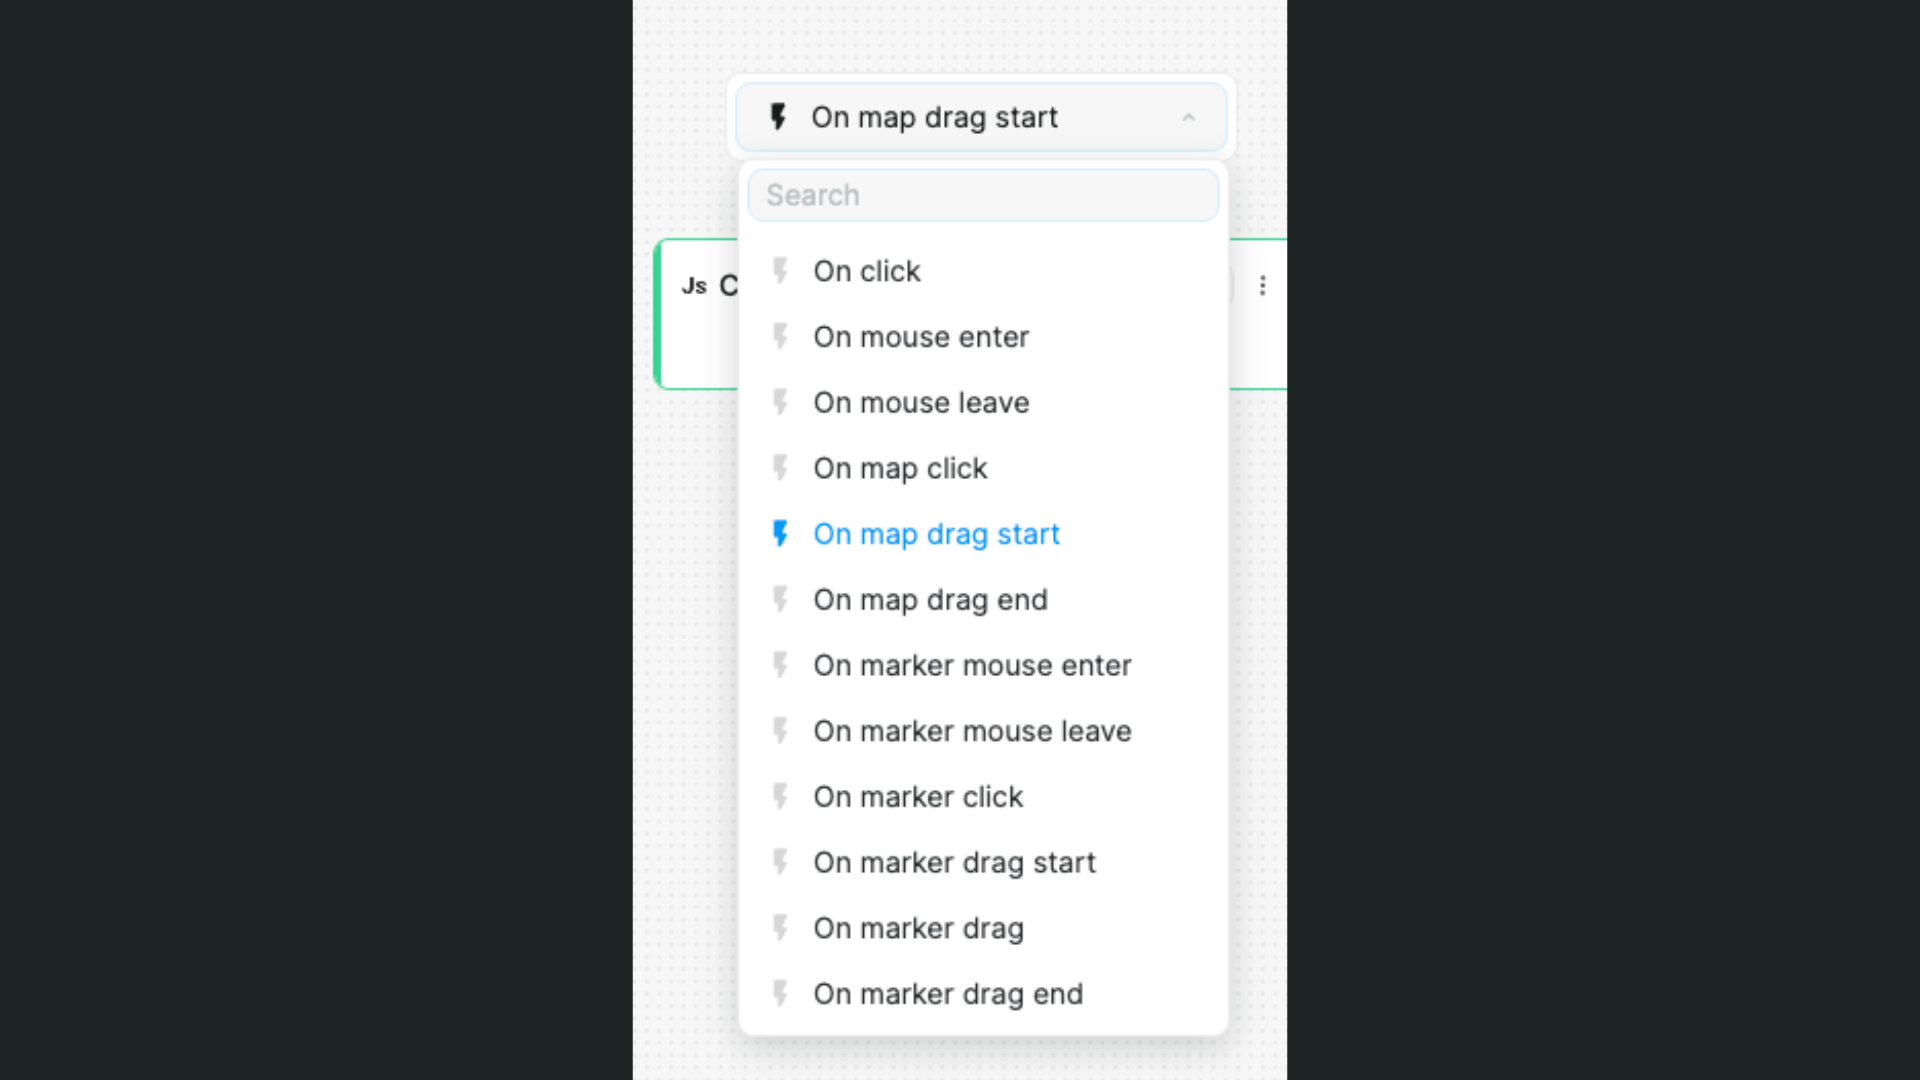
If you feel limited by the native Mapbox marker popup, you can design your own custom modal and decide when it is displayed with one of the Mapbox workflow triggers:
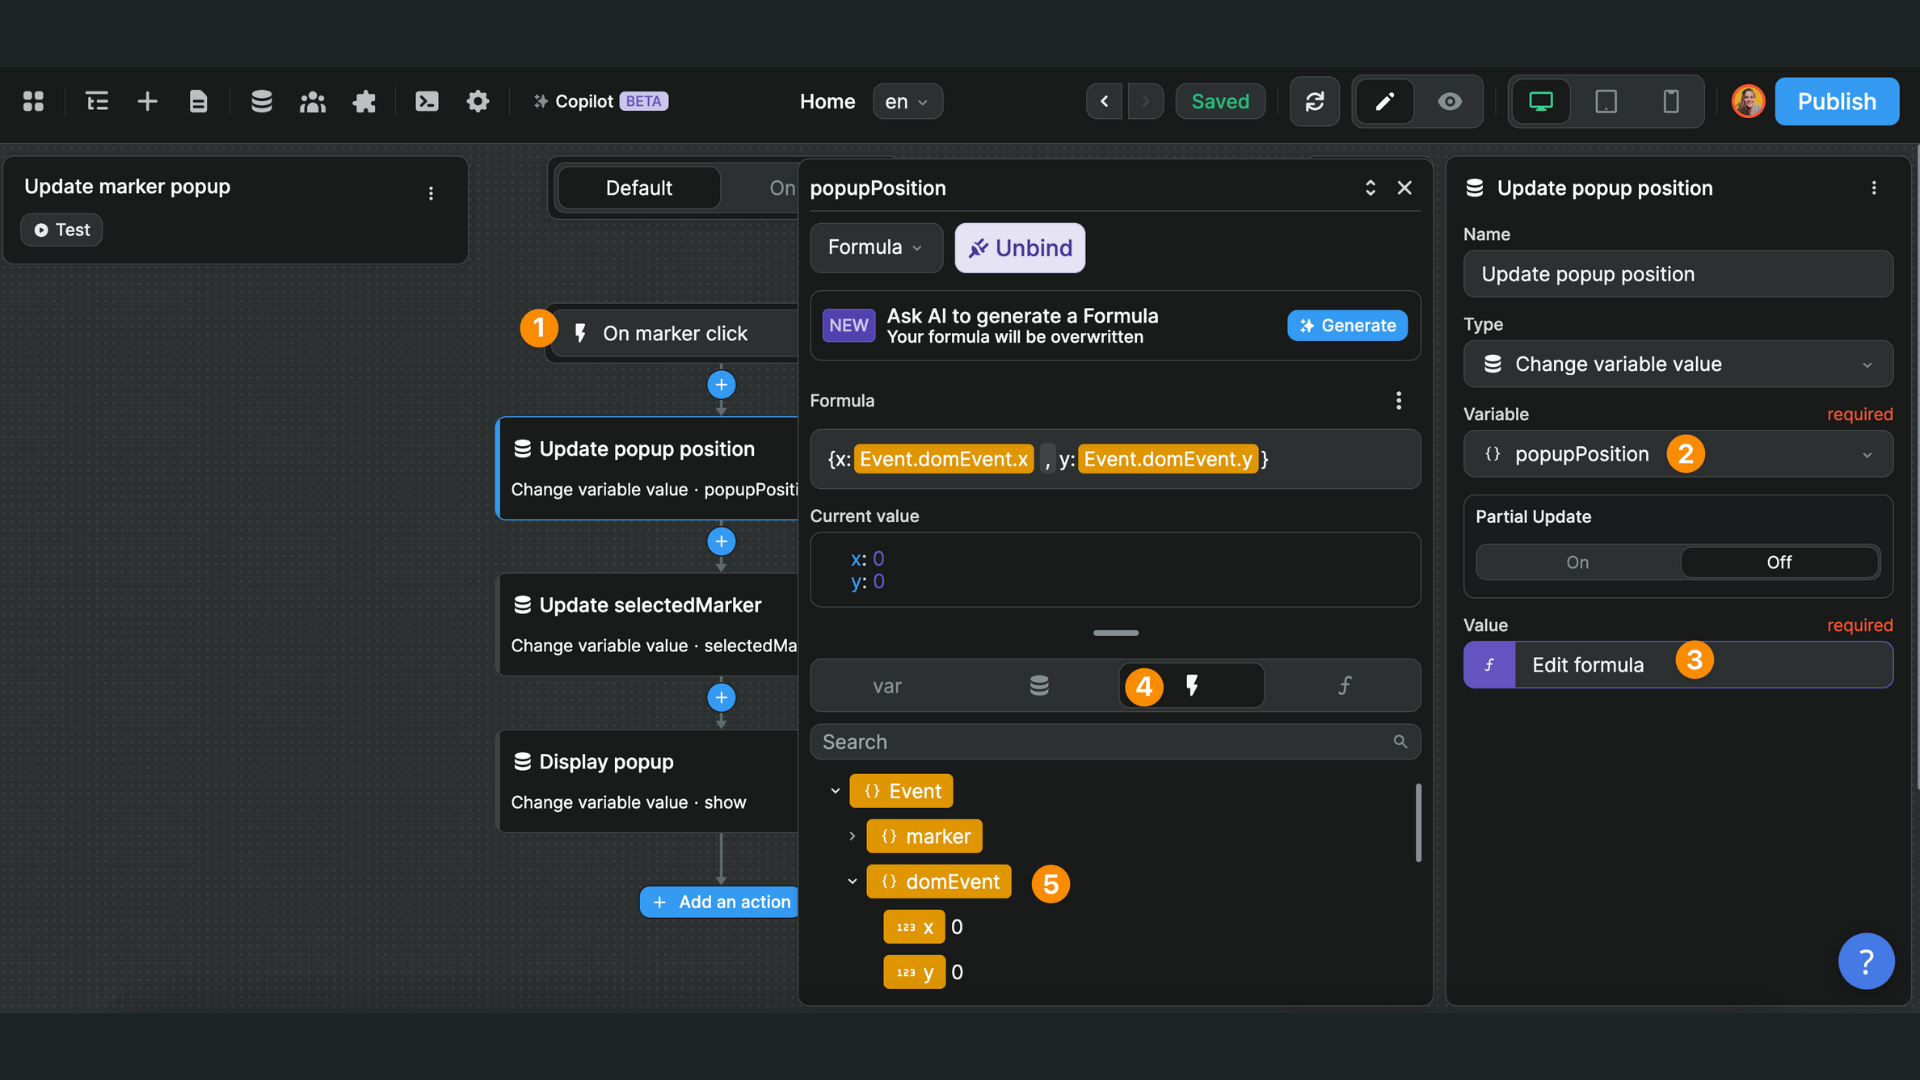
You can also use the x/y position in the domEvent property to choose where the modal is displayed relative to a marker:
Settings options
API access token – Your Mapbox API key.
Latitude, Longitude and Zoom – Determines the part of the map on Earth where that will be displayed to your users at first. More documentation available here.
Scroll zoom – Enable to let users zoom on the map by scrolling over it.
Track resize – Enable to let users resize the map by "snapping" it with two fingers (mobile or touchpad).
Markers draggable – Enable to let users drag and drop markers on the map.
Fixed markers bounds – Enable to prevent users from drag and dropping markers outside of a specific are (to be configured in the markers settings).
Workflow triggers
You can trigger workflows on the Mapbox element:
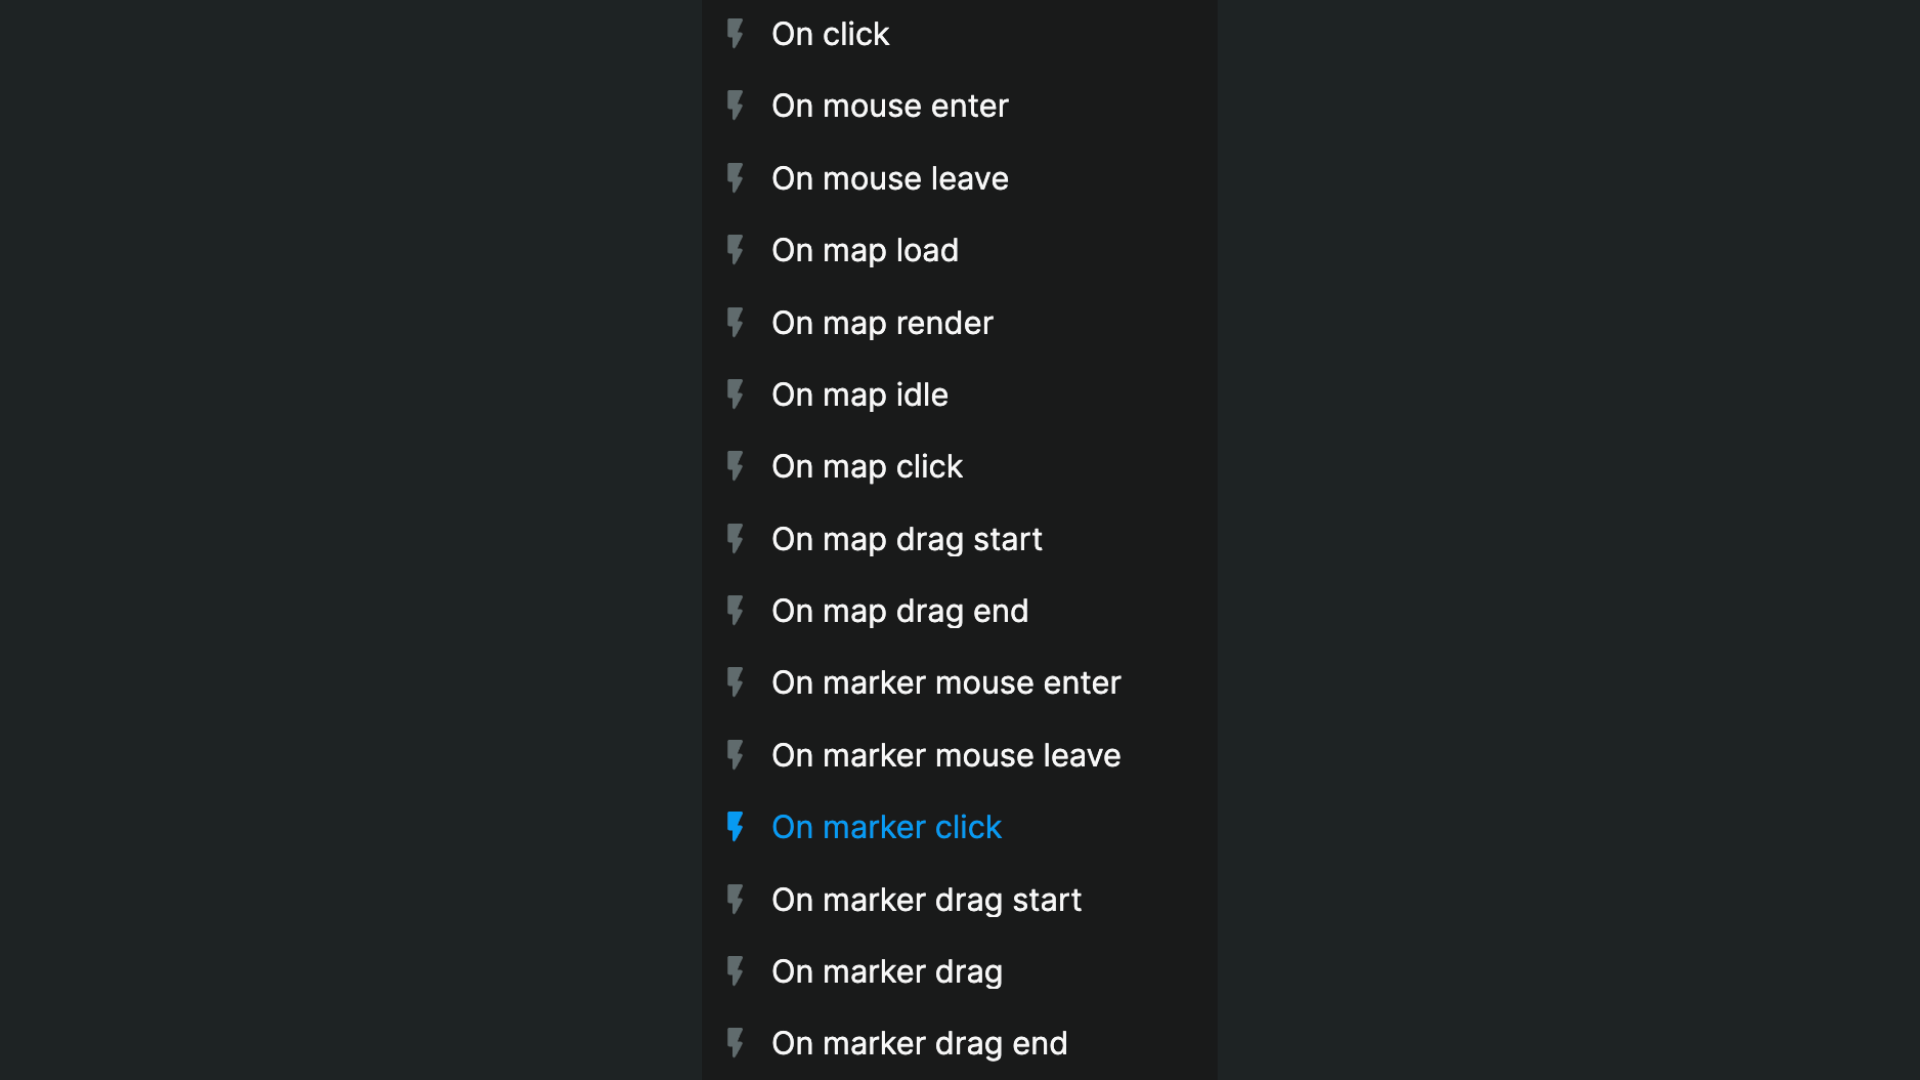
For example, you could use the On marker click trigger to display a custom marker popup.
Add markers
Here, you can setup one or more markers using the Mapbox API:
- Content: the name that will appear on the marker
- Latitude / Longitude: the marker's position on the world map
- Color: the marker default color (will override previous settings for this)
- Draggable: enable to let users drag and drop this marker (will override previous settings for this)
TIP
While you can add markers manually, the power of WeWeb comes when you bind the markers to a collection.
In the example below, you can see we bound our markers to a list of items in an Airtable collection and mapped the fields of these items to the name and coordinates needed by the Mapbox plugin:
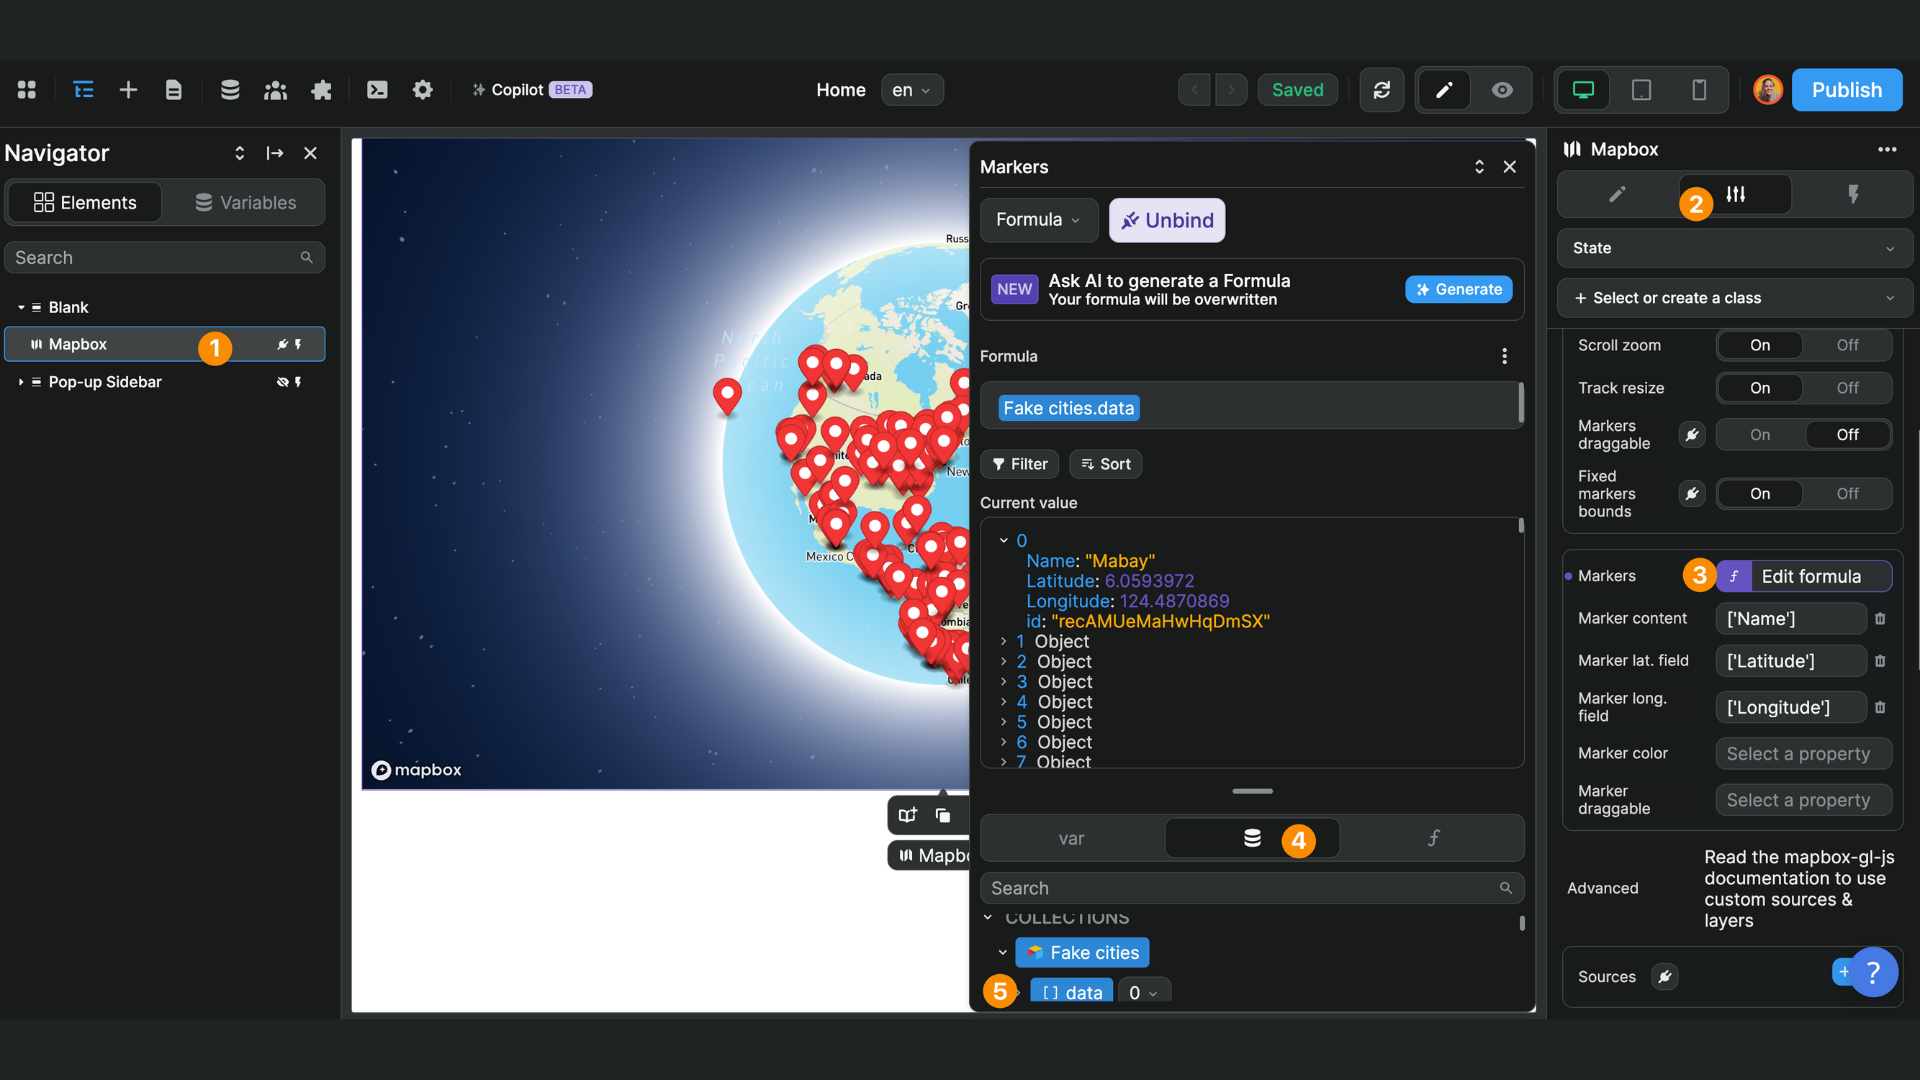
Note that the plugin expects an array of objects, so a list of items. This is why we bound to the collection data and not the collection.
Add sources and layers
Advanced options to customize your map. The best way to use them is by using Mapbox studio to create them in nocode, and then export them and bind them in WeWeb.
Mapbox tutorial available here: https://docs.mapbox.com/help/tutorials/create-a-map-with-data-visualization-component/
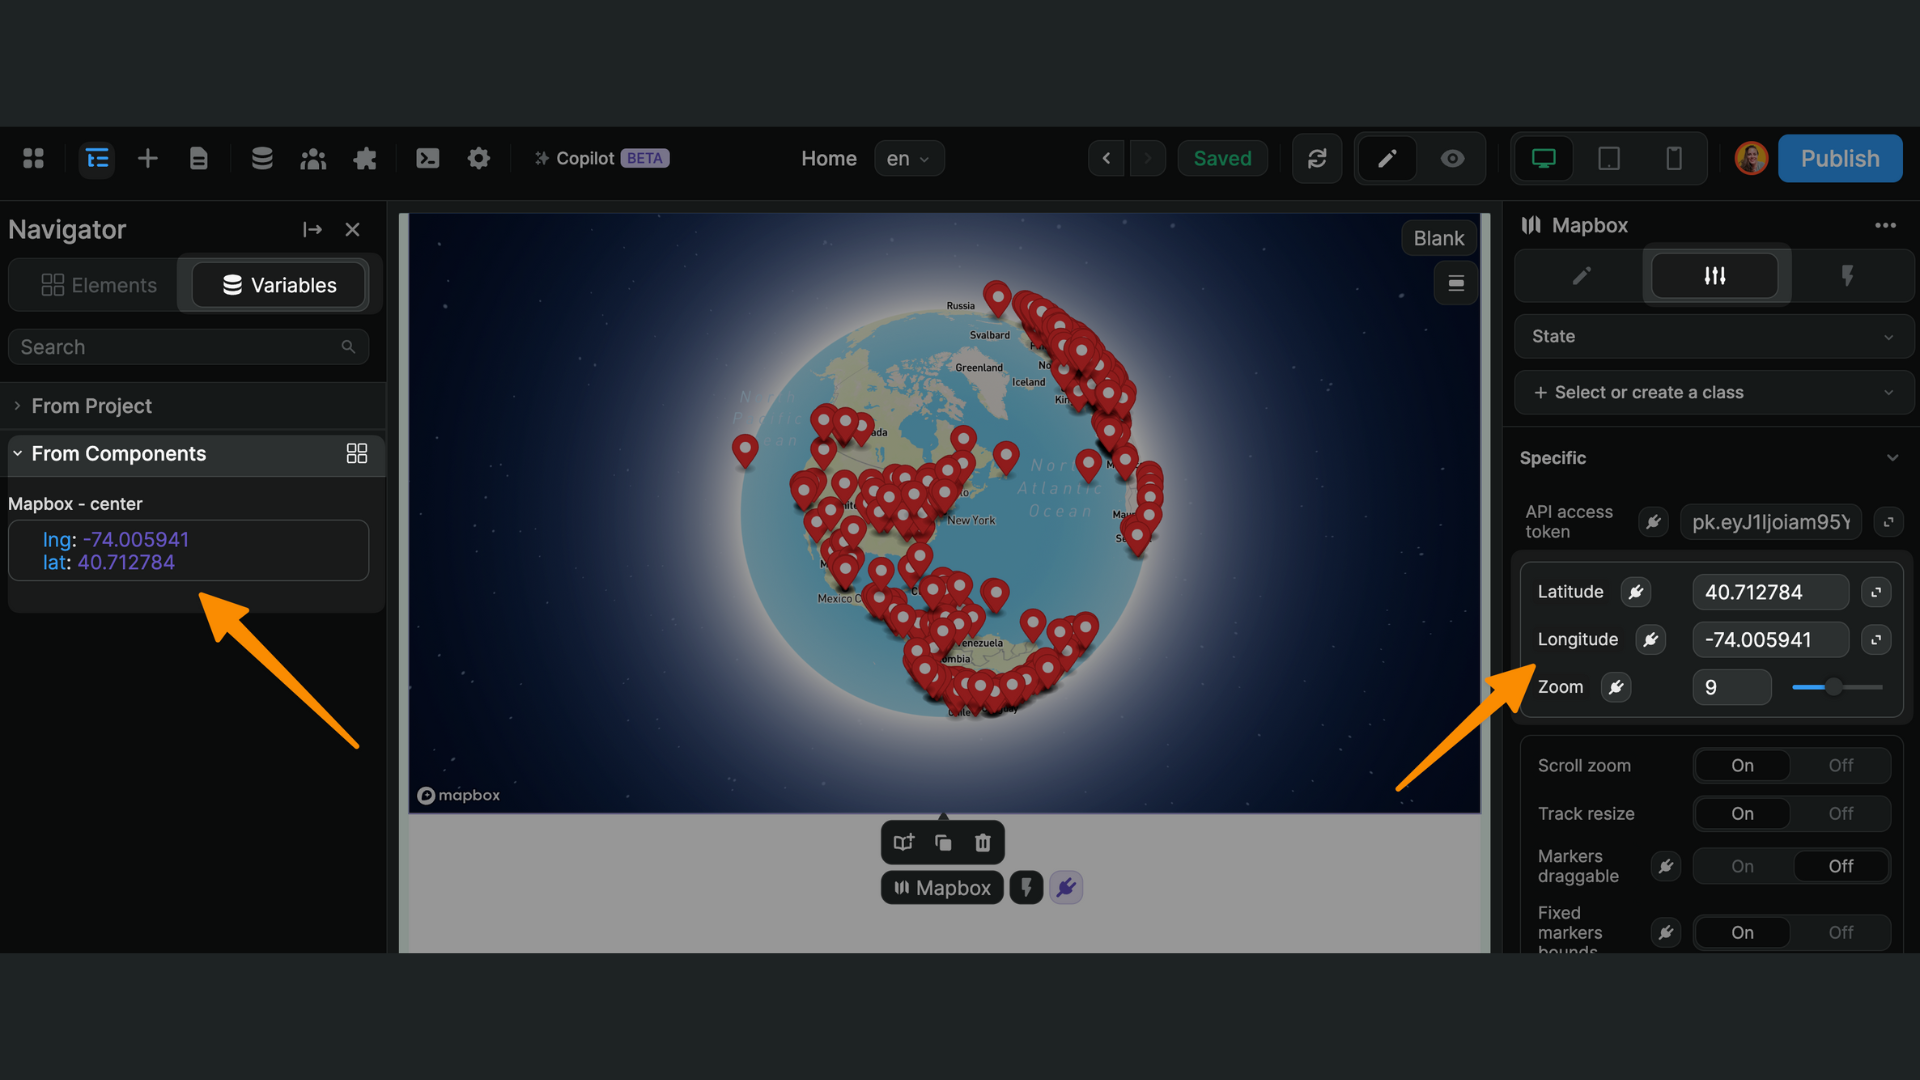
Mapbox center variable
When you add the Mapbox element on a page, a new Mapbox - center variable will be created.
This variable includes the coordinates that correspond to the center of the map you defined in the Settings of the element:
Mapbox instance variable
When you add the Mapbox element on a page, a new Mapbox - instance variable will be created:
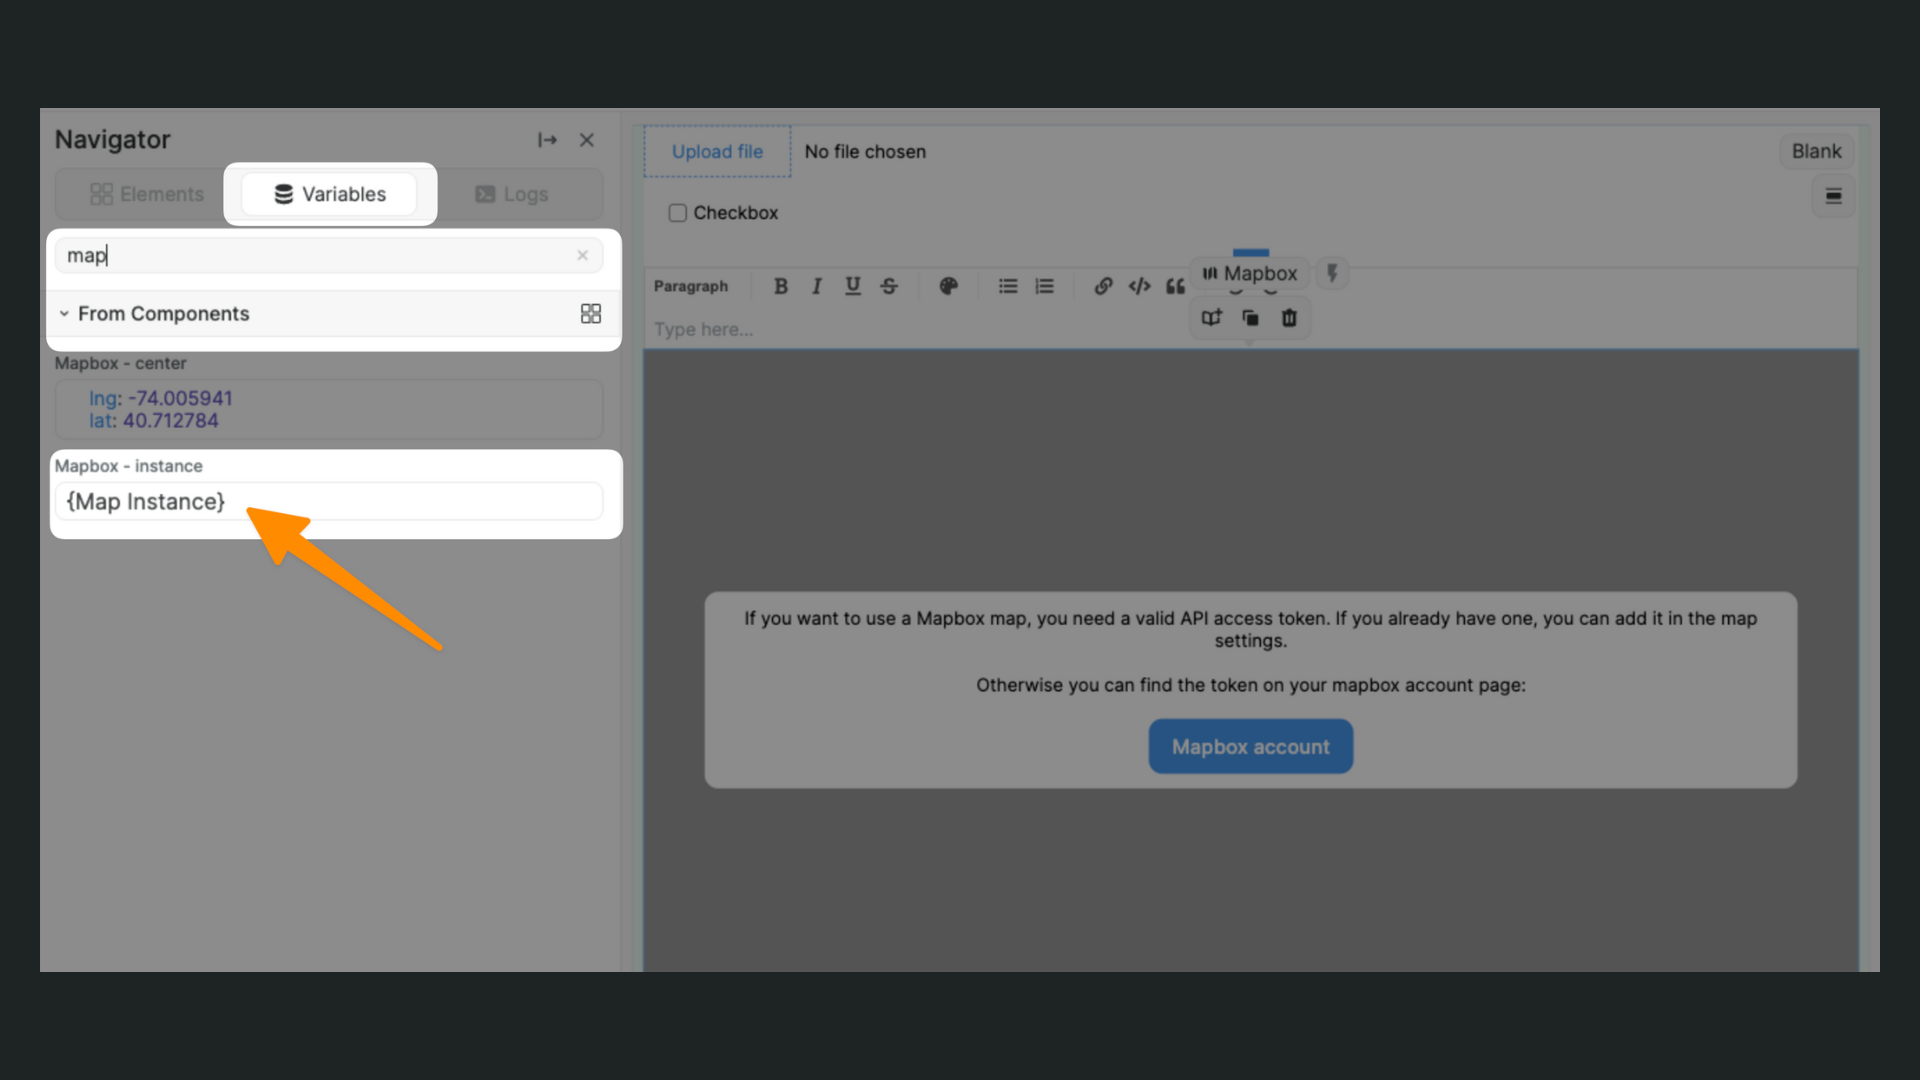
This allows you to access the map instance as a variable.
Access Mapbox library
You can access the mapboxgl library with this code: wwLib.wwPlugins.mapbox.mapboxgl:
