Appearance
Using Wait Close Event
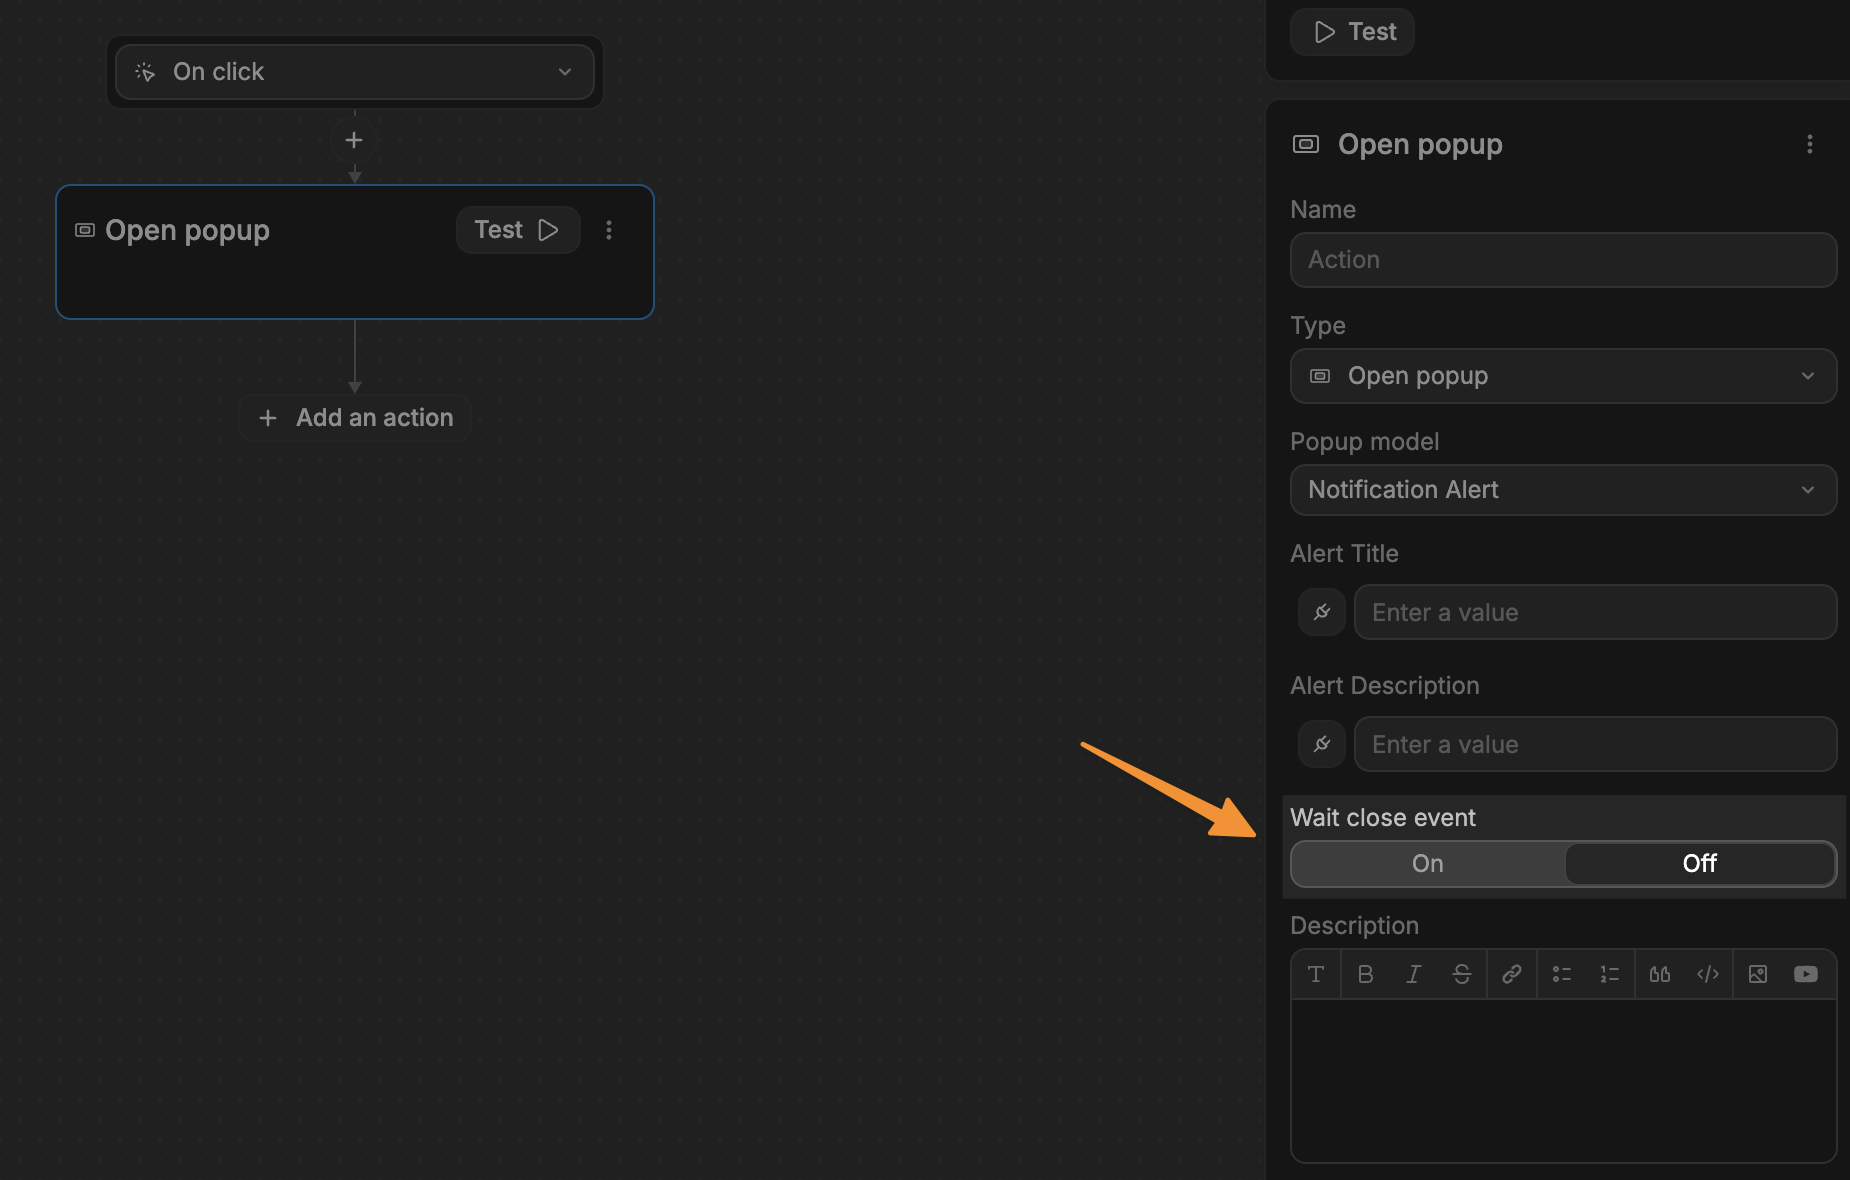
The Wait close event feature in WeWeb's popup system is a powerful tool that allows your workflows to pause and wait for a popup to be closed before continuing. This creates more interactive and sequential user experiences where you can gather input from a popup and then act on that input in your original workflow.
Understanding Wait Close Event
When you open a popup using the Open popup action in a workflow, you have the option to enable Wait close event:
How it works
- Your workflow reaches the
Open popupaction withWait close eventenabled - The popup opens for the user
- Your workflow pauses at this point
- The user interacts with the popup and eventually closes it
- Your workflow resumes after the popup is closed
To see this in the editor:
- Select the element that opens the popup (for example, a
Viewbutton on a product card). - Open the workflow attached to that element.
- Select the
Open popupaction in the workflow. - Turn on
Wait close eventon theOpen popupaction. - Notice that any actions after
Open popup(such as aLogaction) run only after the popup has been closed.
This is different from the default behavior, where the workflow would execute all actions immediately after the trigger.
Returning values from popups
One of the most powerful aspects of Wait close event is the ability to return values from the popup back to the original workflow.
Setting up return values
In your popup:
- Enter edit mode for the popup you want to pass dynamic values on close for.
- Select the element you want to act as the trigger for closing the popup.
- In the right panel, open the
Workflowstab for that element. - Create a workflow on that element.
- Add an action to the workflow.
- Select the
Close this popup instanceaction. - In the
datafield of theClose this popup instanceaction, add the information you want to return to the workflow that opened the popup.
Accessing return values
- Set up a workflow on an element in your popup that includes the
Close this popup instanceaction and passes data when the popup closes. - Run that close workflow at least once in preview. This makes the return data available to other workflows.
- Navigate to the original workflow that opens the popup.
- In any actions that run after the
Open popupaction (withWait close eventenabled), you can access the data returned from the popup.
Common use cases
Confirmation dialogs
A classic use case is creating a confirmation dialog:
- User clicks
Deleteon a customer record. - A workflow opens a confirmation popup with
Wait close eventenabled. - The user clicks
DeleteorCancelin the popup. - The popup closes with data indicating the choice and the customer to delete.
- The original workflow continues and deletes the record only if the returned data says to.
To set up the confirmation popup:
- Open the confirmation popup in edit mode to review its setup.
- In the
Propertiessection, add the properties the popup needs (for example, aPerson To Deleteproperty). - Confirm the popup is ready to receive the record passed in when it opens.