

Appearance
Files
Use Files in the Assets panel to upload static files to WeWeb's CDN. You can then link to those files, or set a path so they are available at a specific URL on your published app.
This is useful for files that need a known public URL, such as a custom sitemap, robots.txt, a PWA manifest, a service worker, or a verification file for a third-party provider.
Open project files
- In the top bar, open the
Interfacetab. - In the left panel, open the
Assetstab. - Click
Files.
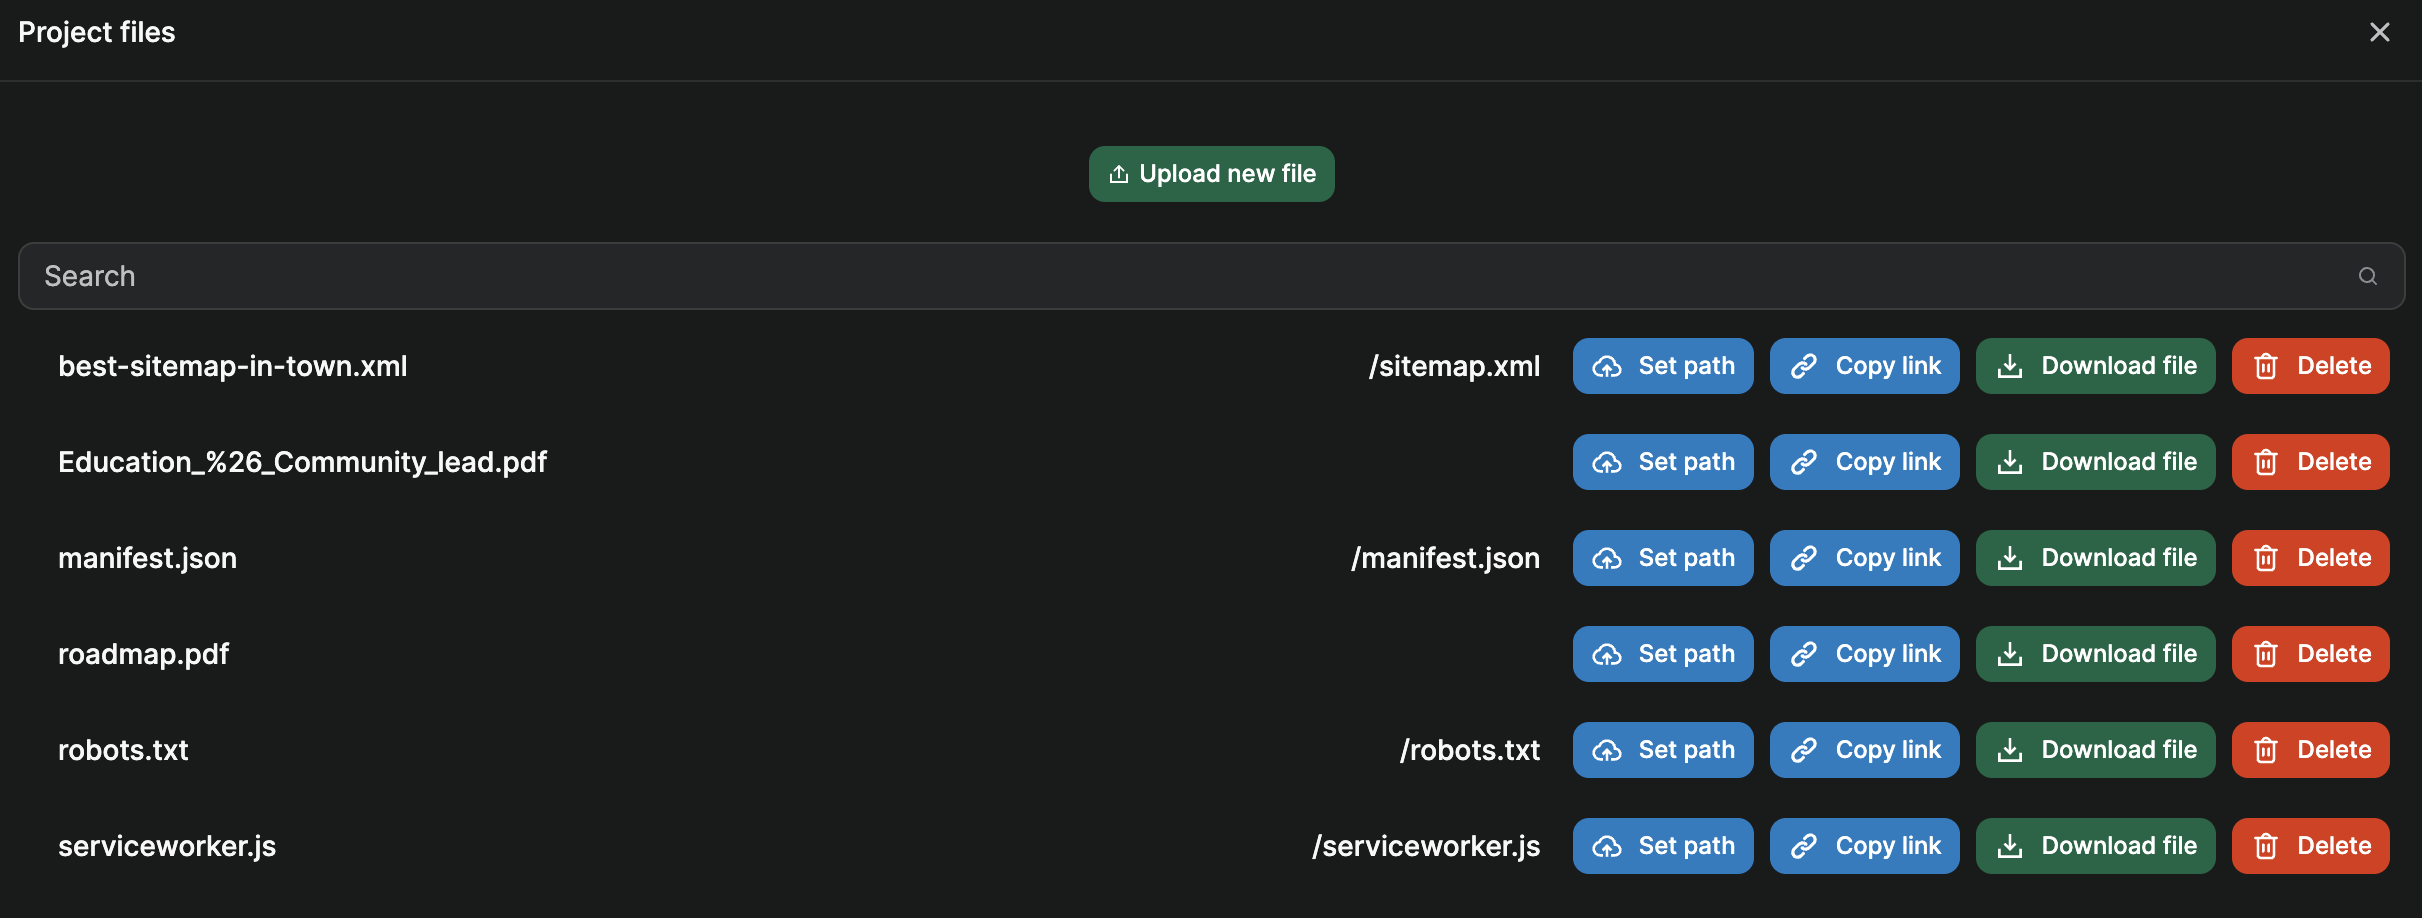
This opens the Project files popup.
Upload a file
- Open
Project files. - Click
Upload new file. - Choose one or more files from your computer.
Uploaded files are stored on WeWeb's CDN. From the file row, you can:
Copy linkTo get the CDN URLDownload fileTo download the original fileDeleteTo remove the file from the project
FILE SIZE
Uploaded files cannot exceed 50MB. If a file is too large, WeWeb shows an error and skips the upload.
Set a path
Set path controls where the file is available on your published app.
- Open
Project files. - Find the file, then click
Set path. - Enter the path where the file should be available after publish, for example
/sitemap.xml. - Click
Save. - Publish your app so the path goes live.
After publish, the file is available at that path on your domain. For example, if your app is on mydomain.com and you set the path to /sitemap.xml, the file is available at mydomain.com/sitemap.xml.
Setting a path overrides the file WeWeb generates by default at that location.
Path rules:
- Use letters, numbers,
/,.,-, and_only - Do not end the path with
/ - Leave the path blank and republish to remove the file from that deploy path
TIP
Clearing the path removes the file from the published app path after you republish. The file stays on the CDN until you delete it.
Common examples
Common examples include but are not limited to:
- A custom sitemap (
/sitemap.xml),robots.txt, PWA manifest (/manifest.json), or service worker (/serviceworker.js) - Verification files for third-party providers such as Apple Pay
- Static files (for example PDFs and CSVs) to display in or download from the app
Custom sitemap
Upload an .xml file and set its path to /sitemap.xml. After publish, it overrides WeWeb's auto-generated sitemap.
Learn more about custom sitemaps →
LLMs.txt
Upload a text file and set its path to /llms.txt.
Custom PWA manifest or service worker
If you need to replace WeWeb's default PWA files:
- Upload your custom file.
- Set the path to:
/manifest.jsonFor a custom PWA manifest/serviceworker.jsFor a custom service worker
- Make sure PWA is enabled for your app.
- Publish your app.
CUSTOM SERVICE WORKER
A custom service worker requires the PWA to be enabled in app settings. Otherwise, the published app unregisters all service workers.
To enable PWA:
- Open the
Settingstab in the top bar, then openInterface Settings. - Open
Mobile app (PWA). - Set
Enable Mobile App (PWA)toEnable. - Save, then publish.
Learn more about Mobile app (PWA) →
Project files vs user files
Assets → Files is for app files you want available on your published project.
For user-uploaded content (profile photos, documents tied to accounts, and similar), store files in a backend or storage system with access controls. That approach scales better and keeps user data secured per user.
TIP
If you use WeWeb Backend, look at Storage in Data & API for user file workflows. Project files in Assets are a different system.