

Appearance
Creating your first project
A project is one app in WeWeb: its pages, its data, and its backend. When you create a project, WeWeb asks you what you want to build, sets up everything your app needs to run online, and lets WeWeb AI build a first version for you. You can then change anything in the editor, with AI or by hand.
When you sign up to WeWeb, your first project is created for you, under the name My project, and opens on the same steps as below. Go to the steps that follow →
Create a project
- In the WeWeb dashboard, open your workspace and click
New project. - Type a
Project name, for exampleMy to-do app. You can rename it later. - Click
Create project.

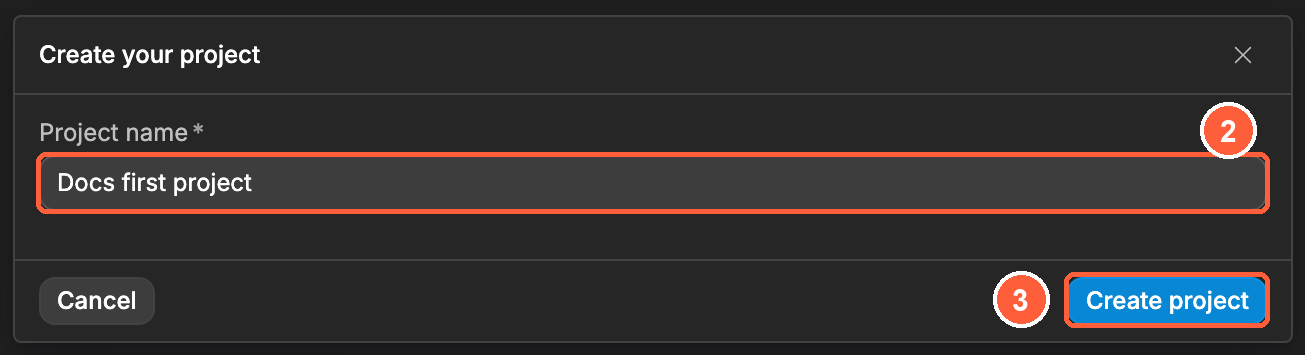
If your workspace plan includes single sign-on, WeWeb also asks Who can use the published app?. Learn more about internal apps →
The editor then opens on your new project.
Describe what you want to build
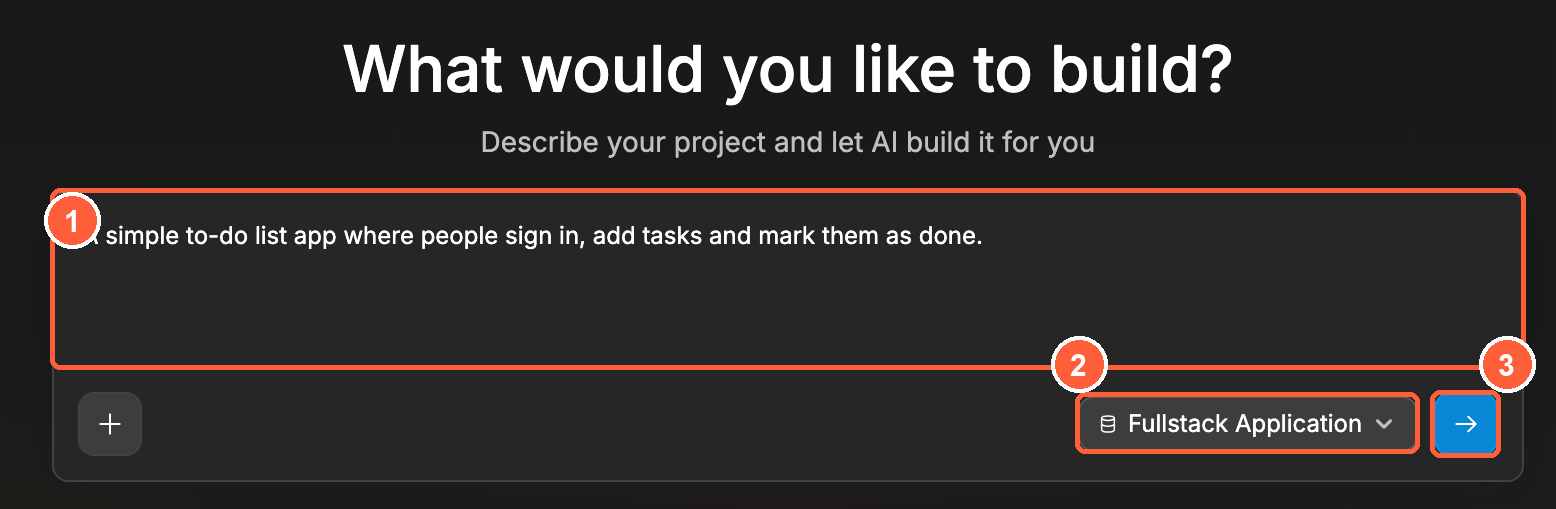
The editor first asks What would you like to build?:
- Describe your app in a few sentences: who uses it and what they can do. The more precise you are, the closer the first version is to what you have in mind. You can add images or documents with the
+button, for example a screenshot of a design you like. - Choose what you're building:
Fullstack Application— an app with a backend: a database, sign-in for your users, and file storage. This is the default.Landing Page— a website without a backend.
- Click the arrow to send.
START WITHOUT AI
To build everything yourself, click Go to Editor (skip) at the top right. You land on a blank project in the editor.
Choose where your app is hosted
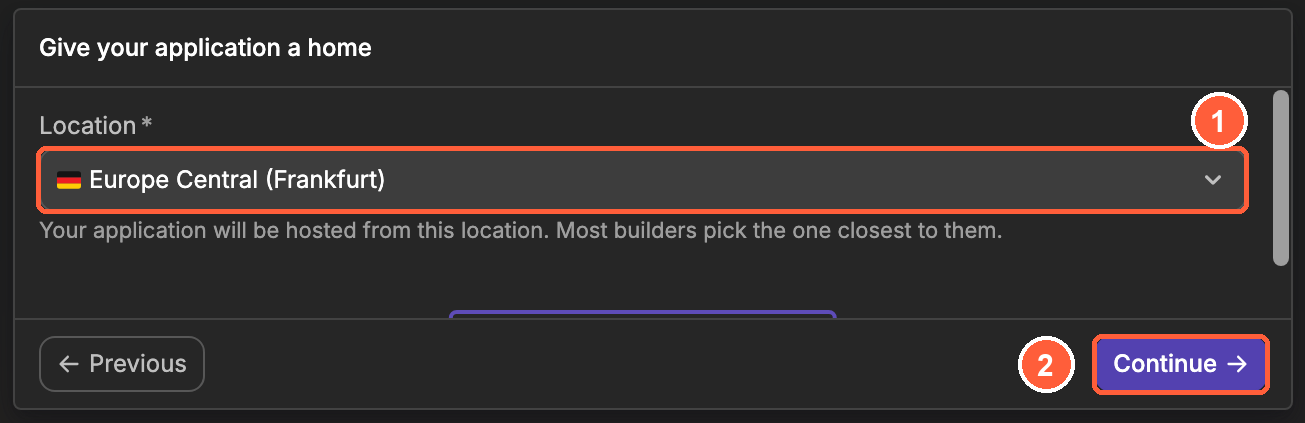
For a Fullstack Application, WeWeb then asks you to Give your application a home:
- In
Location, choose where your app and its data are hosted:US East (N. Virginia),Europe Central (Frankfurt), orAsian Pacific (Singapore). Most builders pick the one closest to them, or to their users. - Click
Continue.
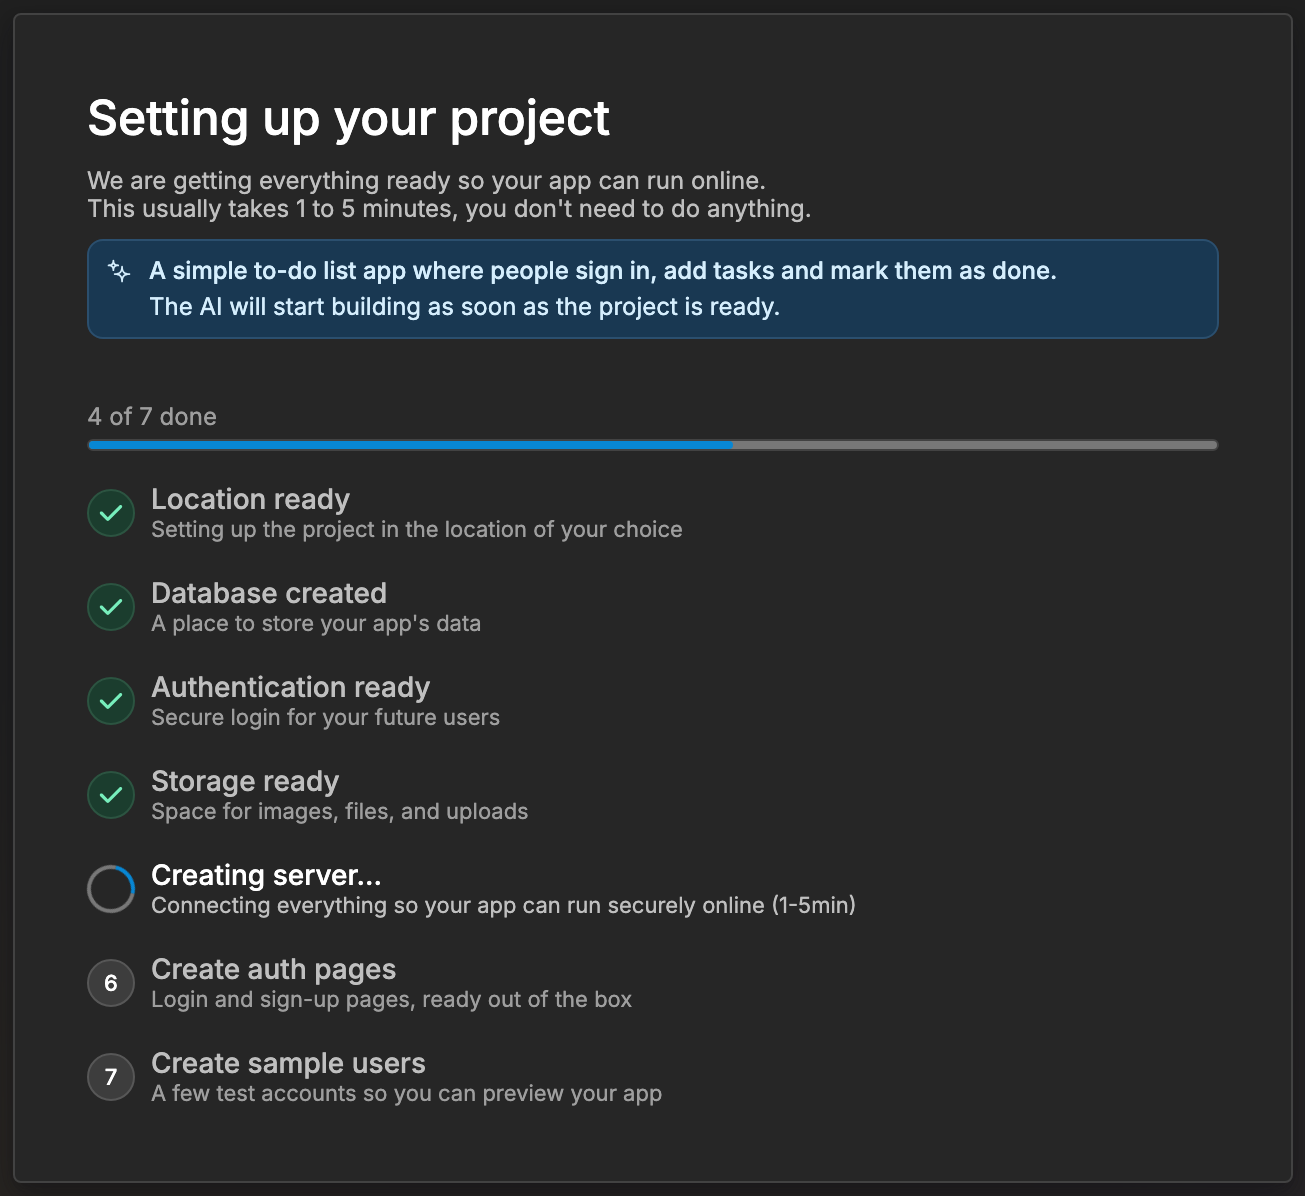
WeWeb then sets up your project. It usually takes 1 to 5 minutes, and you don't need to do anything:
- The database, where your app stores its data
- Authentication, so your users can sign in
- Storage, for images and files
- The server that runs your app online
- Ready-made sign-in and sign-up pages
- A few test users, so you can preview your app as a signed-in user
Learn more about the Data & API tab →
Let WeWeb AI build your app
When the project is ready, the editor opens and WeWeb AI starts building from your description. In the Agents panel on the left, you can follow its plan step by step: the tables, the API endpoints, the design system, the pages, and the workflows. While it works, the editor shows Generation in progress and you can't change the project. This can take several minutes.
When it's done, WeWeb shows Generation complete. Click Start exploring to look around. In the Agents panel, a summary lists everything WeWeb AI created, with two buttons:
Previewopens your app as your users will see it.Run AI testasks WeWeb AI to test your app for you. Learn more about testing with AI →
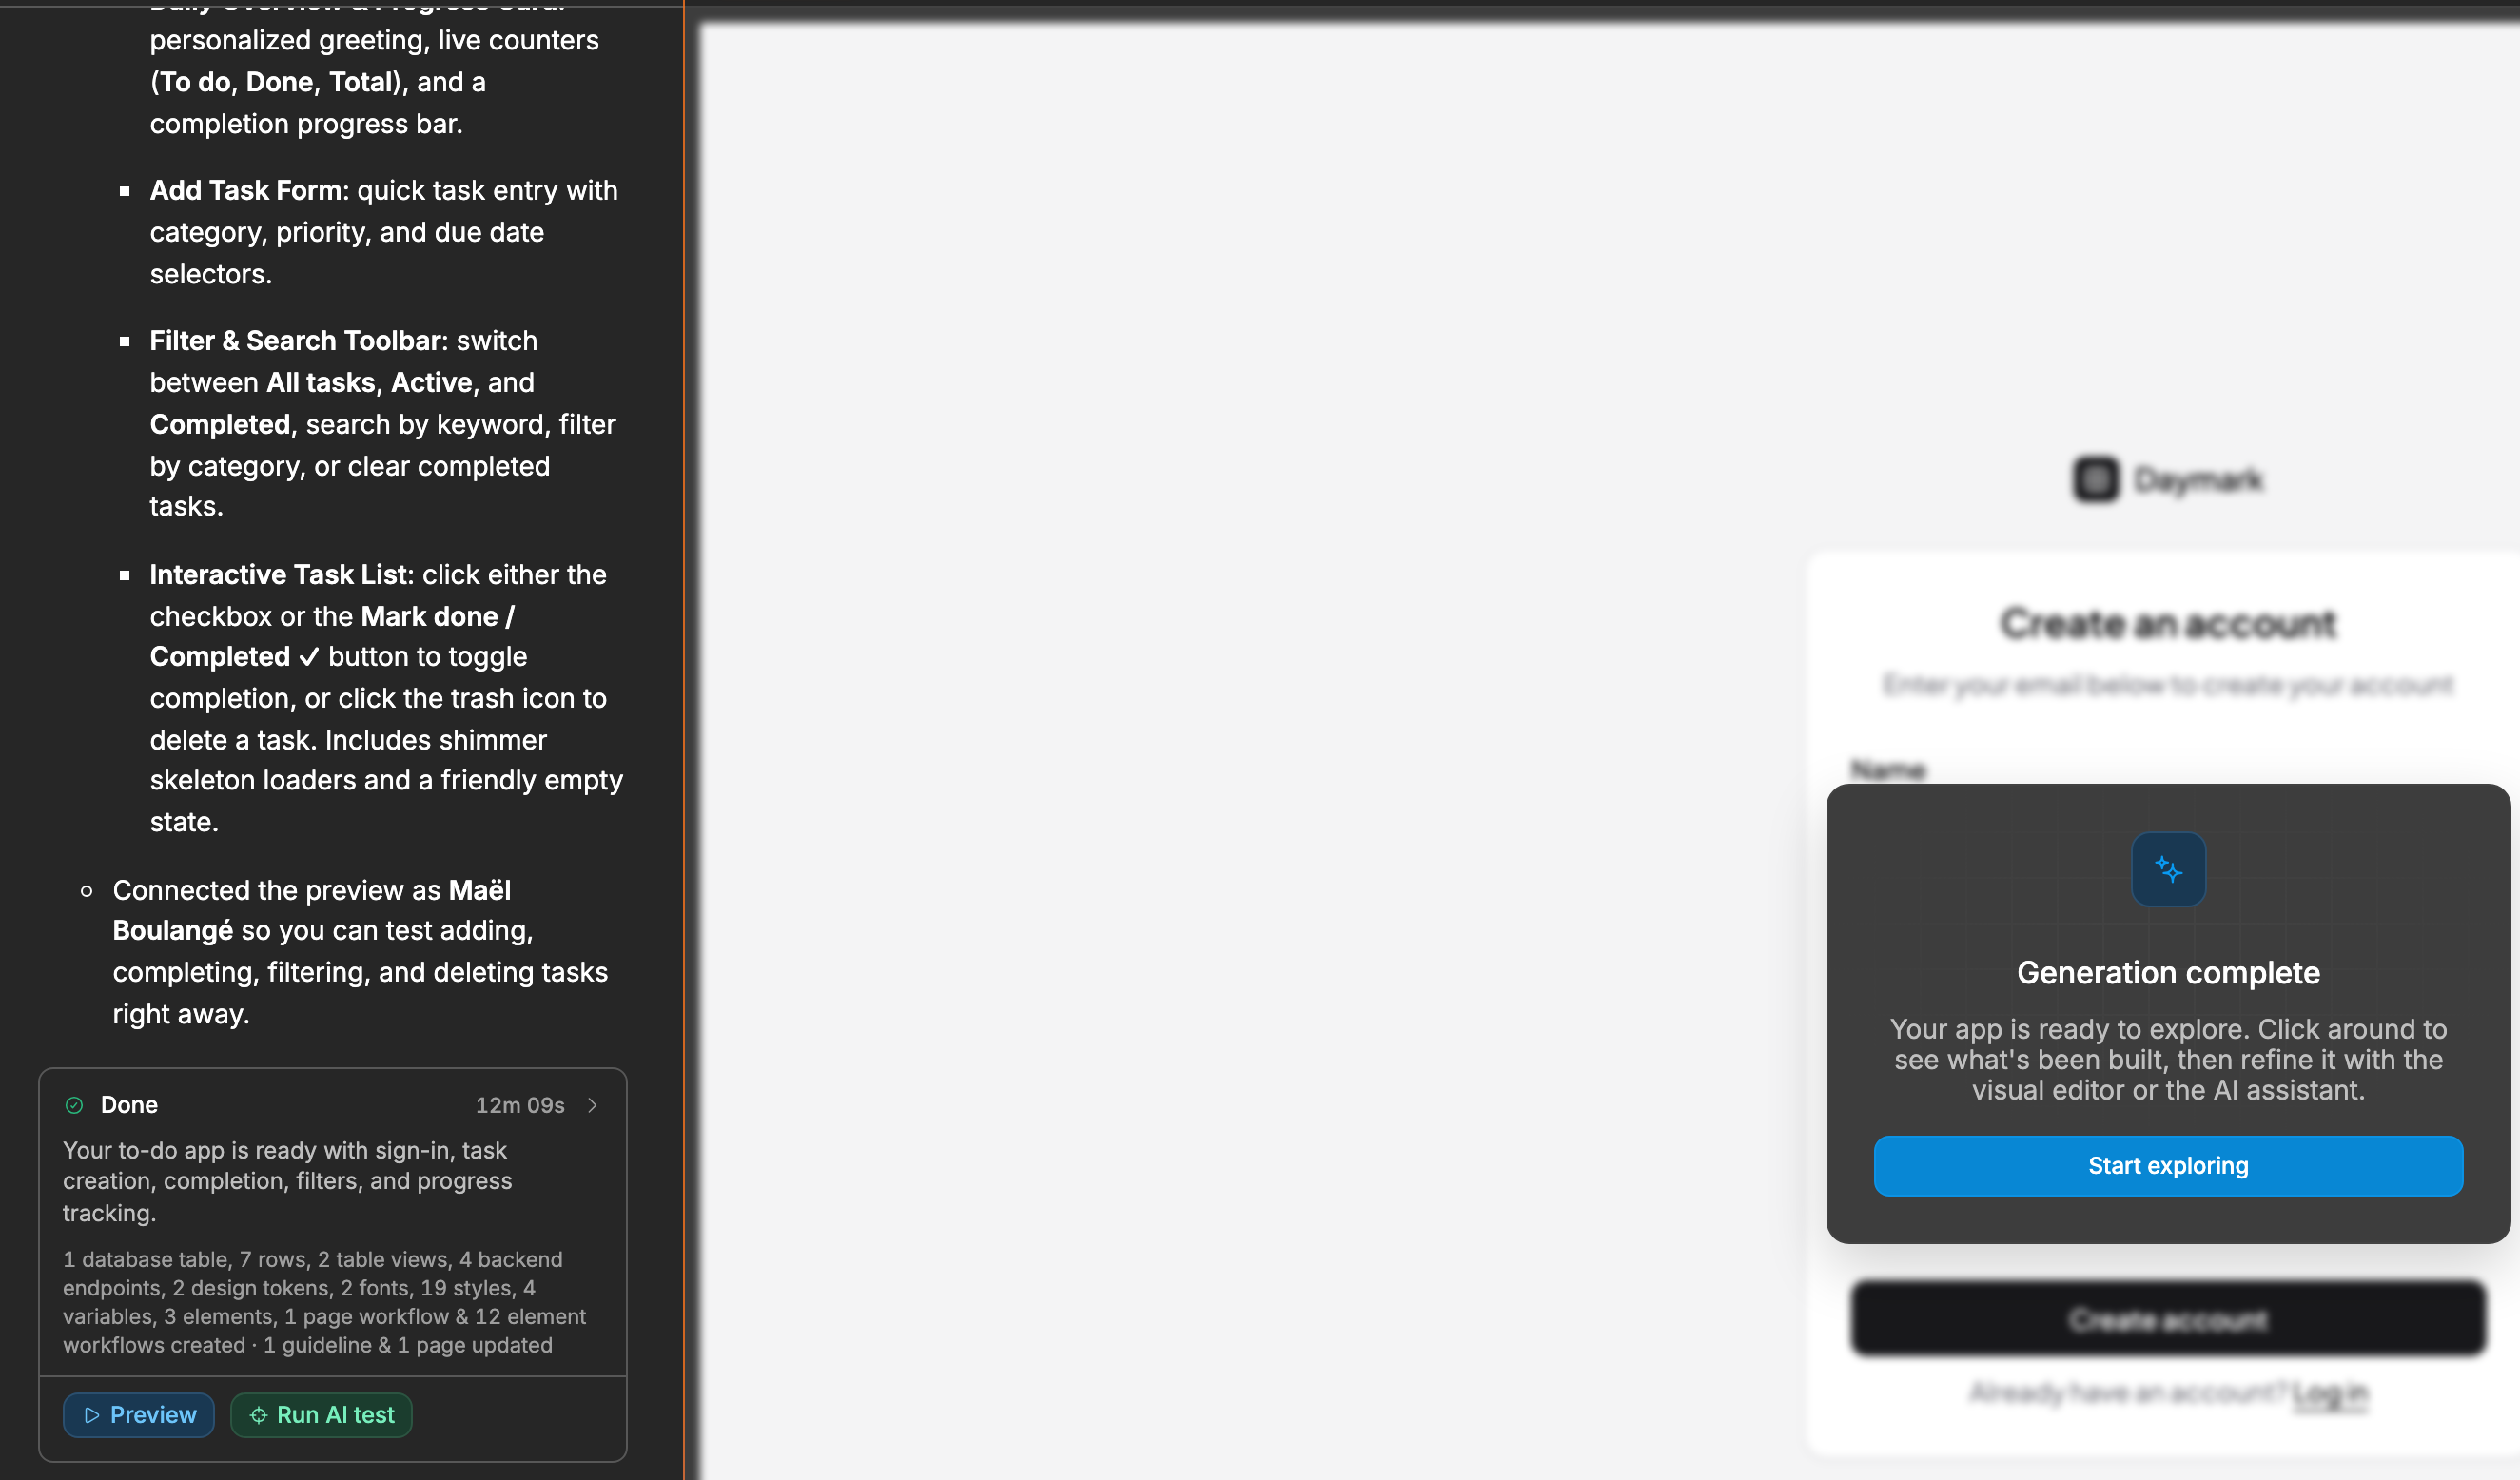
From there, keep building by describing your changes to WeWeb AI, for example "Add a page to edit a task". Learn more about building with WeWeb AI →
BUILD WITH YOUR OWN AI AGENT
You can also build your WeWeb project from Claude, ChatGPT, Codex, Cursor and other AI apps, by connecting them to WeWeb over MCP. Learn more about WeWeb MCP →
CONTINUE LEARNING
Now that your project is created, learn how to add your own elements to its pages: