
Appearance
Project formulas
Project formulas let you define a formula once and reuse it anywhere across your application. They’re ideal when you find yourself repeating the same logic in multiple places or want a single source of truth for complex transformations.
Create a project formula
- In the left panel of the
Interfacetab, open theFormulastab - Click
Add Formulato create a new project formula - Define the input parameters your formula expects
- Write the formula logic that uses those inputs
- Save — the formula is now available across the project
Use a project formula
- Select the element you want to use the formula for.
- Open the binding window for the property you want to bind.
- In the binding window, open the
Formulastab. - Expand
From Project. - Select your project formula.
- Click inside
()and pass in the values for each input parameter in the correct order.
Input parameter ordering
When using a project formula that requires inputs, pass values in the same order as the parameters are defined during creation.
Example ordering:
text_inputnumber_input
js
// Correct: 'Hello World' maps to text_input, 42 maps to number_input
exampleFormula('Hello World', 42)
Passing values in the wrong order will produce unexpected results.
When to use project vs. local formulas
Use project formulas when:
- You need the same logic in multiple places
- The logic is complex and you’d like a single source of truth
- You want easier future maintenance — update once, apply everywhere
Keep using local formulas when the logic is simple and specific to a single place.
Manage and audit usage
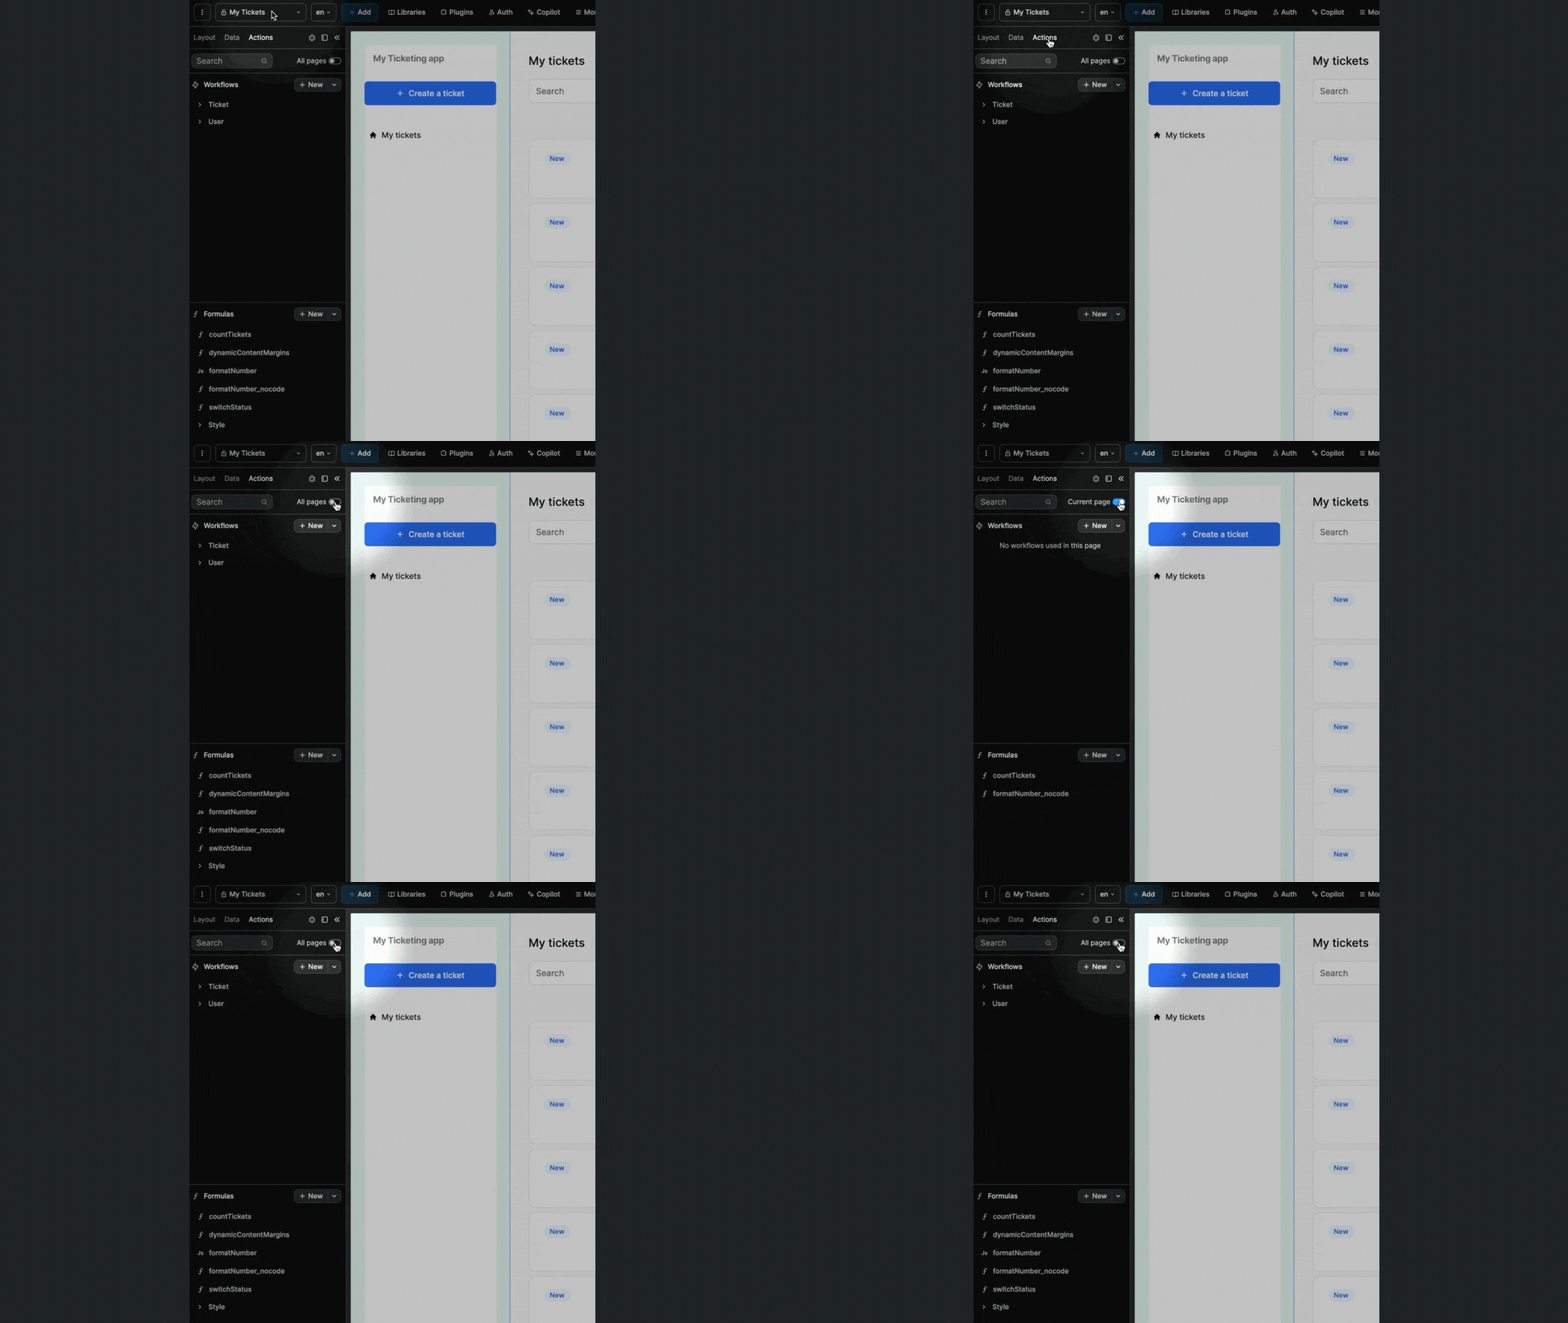
Project formulas can be filtered by page to see where they’re used, which helps when refactoring or debugging.